- Live Chat
- 1-888-905-9199


Why choose ToyotaPartsDeal
- High-Grade Parts
The best site to buy Toyota Solara genuine parts for years has been ToyotaPartsDeal.com. We're the best online store for genuine parts. Toyota Solara parts you could ever need are available here at the finest quality and best value on the web that will have your vehicle performing past its limits.
- Value For Money
What makes us the best choice for OEM Toyota Solara parts? You get tremendous savings because our goal is to offer unbeatable prices. At ToyotaPartsDeal.com, Our products offer the same performance and reliability as their OEM counterparts without having to break your wallet.
- Quick Delivery
Everything you need for routine maintenance and repair can be found in our complete Toyota Solara parts catalog. Having the best OEM parts inventory available, the parts for your vehicle will arrive fast no matter your location in the nation. You'll be back on the open road before you know it.
Popular Genuine Toyota Solara Parts
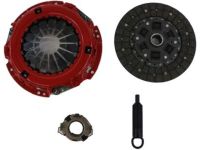
- Power Train/Chassis Parts View More >
- Body Parts View More >
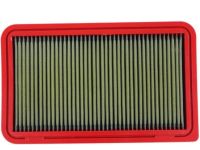
- Engine/Fuel/Tool Parts View More >
- Electrical Parts View More >
Shop Genuine Toyota Solara Parts with ToyotaPartsDeal.com
Toyota Solara, also known as Toyota Camry Solara, is a mid-size coupe and convertible manufactured by Toyota from 1998 to 2008. The first Toyota Solara was introduced in 1998 to replace the Camry Coupe. Its design was mostly based on its Camry parent. Until Solara was discontinued after the 2008 model year, it had been produced through two generations. The first generation Toyota Solara (XV20; 1998-2003) began sale in the third quarter of 1998 as a 1999 model. The SE, Sports Package, and SLE trim levels were offered in it. Toyota Solara got redesigned in 2001 and its engine was upgraded to a 2.4 L 2AZ-FE inline 4-cylinder engine from a 2.2 L engine, the 3.0 L V6 engine was available as well. A 4-speed automatic transmission and 5-speed manual transmission were also available. The second generation Toyota Solara (2003-2008), based on the 2002 Camry sedan, debuted in 2003 for the 2004 model year. It carried over trim levels SE and SE Sport from the previous generation. The main power sources were a 2.4 L inline 4-cylinder and 3.3 L V6 engine equipped with a 4-speed or 5-speed automatic transmission and 5-speed manual transmission.
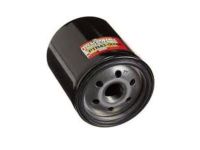
Despite being produced by the renowned Japanese automaker Toyota, known for excellent craftsmanship and advanced technology, the Toyota Solara still faces common issues. Engine-related problems include annoying squealing or rattling noises from the engine, reduced performance like slow acceleration, poor gas mileage, and difficulty starting. To avoid these issues, maintain the oil filter, oxygen sensor, timing cover, timing belt tensioner, timing chain tensioner, timing belt, and timing cover gasket. Electrical issues are common in modern vehicles, with Solara drivers reporting that the door jamb switch and power window switch are the most prone to failure. Check the door jamb switch if the dome light malfunctions, and the power window switch if the windows exhibit similar symptoms. Regular maintenance is crucial for all auto parts, including seat belts (which protect occupants during sudden movements), the emblem (which signifies your Solara), and the antenna (a vital component of the infotainment system).
In terms of quality and longevity, OEM parts are top-tier. This is because they are made according to Toyota's demanding factory specifications and go through strict quality control. If you are looking for OEM Toyota Solara parts, we highly recommend to shop with us. Not only do we offer the lowest prices, but we also provide fast delivery. In addition, we have a hassle-free return policy on all genuine Toyota parts that come backed by the manufacturer's warranty.
Toyota Solara Parts Questions & Answers
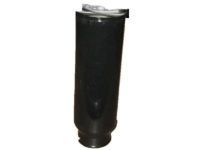
- Q: How to remove and install a receiver/drier in a refrigeration system on 1997 through 2001 Toyota Solara?A: To remove the A/C accumulator, the refrigerant must first be discharged and the negative battery cable disconnected. The refrigerant lines should then be disconnected and the open fittings capped to prevent moisture from entering. The clamp bolt can be loosened and the A/C accumulator slipped out of the bracket. To install, simply reverse the removal process. However, it is important to have the system evacuated, charged, and leak tested. If the A/C accumulator was replaced, 20 ccs of refrigeration oil should be added to the A/C Compressor, using only oil compatible with R-134a refrigerant.
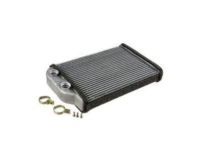
- Q: How to remove and install a heater core on 1997 through 2001 Toyota Solara?A: To remove the heater core, start by disconnecting the negative cable from the battery and draining the cooling system. Then, in the engine compartment, disconnect the heater hoses where they enter the firewall below the heater valve. Next, pull back the carpeting from the driver's side of the console area and remove the two clips and heater protector plate. Finally, remove the three screws and clamps and disconnect the heater pipes. To install the new heater core, pull it out of the heater/air conditioning unit and use new O-rings to seal the heater core pipes. Then, refill the cooling system, reconnect the battery, and run the engine, checking for leaks and proper system operation.
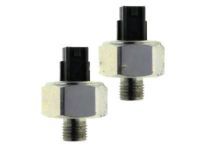
- Q: What is the knock control system and how do you check and replace a knock sensor on 1997 through 2001 Toyota Solara?A: The knock control system is designed to reduce spark knock by detecting abnormal engine vibration through a knock sensor, which produces a voltage output that is monitored by the PCM. The system retards ignition timing until the detonation ceases, allowing for optimal spark advance and improved driveability. To check a knock sensor, disconnect the electrical connector and use an ohmmeter to check for continuity between the knock sensor terminal and the body of the sensor. If continuity exists, replace the sensor. To replace the knock sensor, disconnect the battery cable, drain the cooling system, remove the intake manifold on V6 models, disconnect the electrical connector, and remove the sensor. When installing a new or reused sensor, ensure it is securely tightened (approximately 30 ft-lbs) and the threads are coated with thread sealant as necessary. Refill the cooling system and check for leaks.


