×
- Live Chat
- 1-888-905-9199


My Garage
My Account
Cart
Genuine Toyota Yaris Headlight
Headlamp- Select Vehicle by Model
- Select Vehicle by VIN
Select Vehicle by Model
orMake
Model
Year
Select Vehicle by VIN
For the most accurate results, select vehicle by your VIN (Vehicle Identification Number).
29 Headlights found
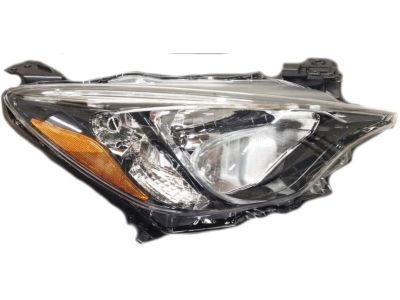
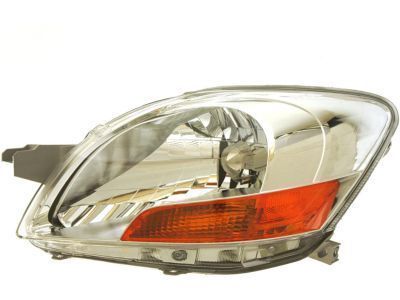
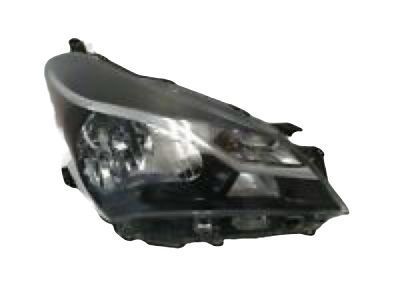
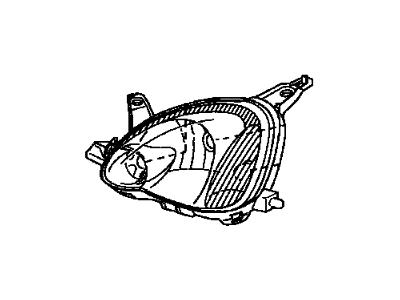
Toyota Yaris Driver Side Headlight Assembly
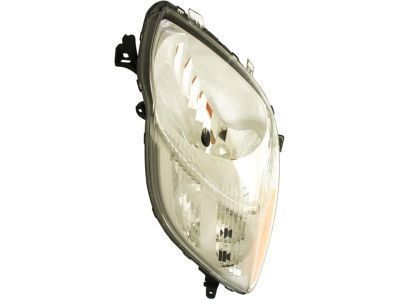
Part Number: 81170-WB001$236.15 MSRP: $338.62You Save: $102.47 (31%)Ships in 1-3 Business DaysToyota Yaris Passenger Side Headlight Assembly
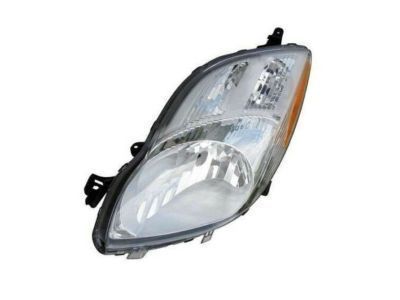
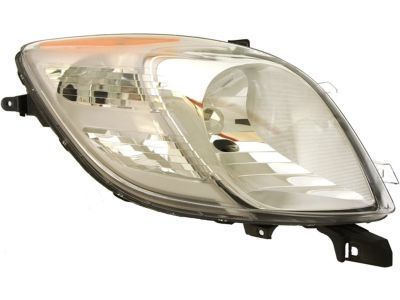
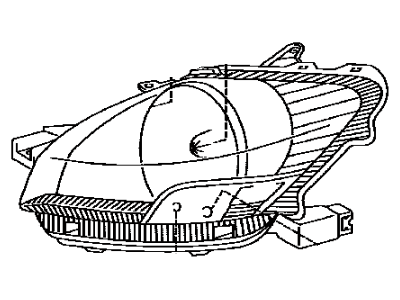
Part Number: 81130-WB001$236.15 MSRP: $338.62You Save: $102.47 (31%)Ships in 1-3 Business DaysToyota Yaris Driver Side Headlight Unit Assembly
Part Number: 81170-52740$153.49 MSRP: $218.22You Save: $64.73 (30%)Ships in 1-3 Business DaysToyota Yaris Passenger Side Headlight Unit Assembly
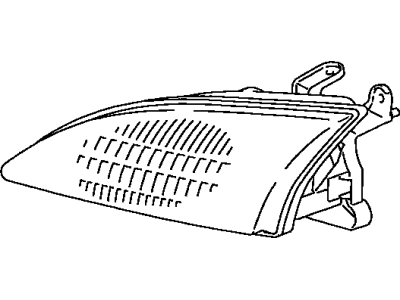
Part Number: 81130-52B50$120.97 MSRP: $171.97You Save: $51.00 (30%)Ships in 1-3 Business DaysToyota Yaris Passenger Side Headlight Assembly
Part Number: 81130-52611$134.42 MSRP: $191.11You Save: $56.69 (30%)Ships in 1-3 Business DaysToyota Yaris Driver Side Headlight Unit Assembly
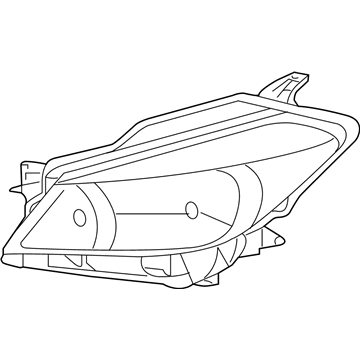
Part Number: 81170-52B40$120.97 MSRP: $171.97You Save: $51.00 (30%)Ships in 1-3 Business DaysToyota Yaris Passenger Side Headlight Unit Assembly
Part Number: 81130-52750$153.49 MSRP: $218.22You Save: $64.73 (30%)Ships in 1-3 Business DaysToyota Yaris Driver Side Headlight Unit Assembly
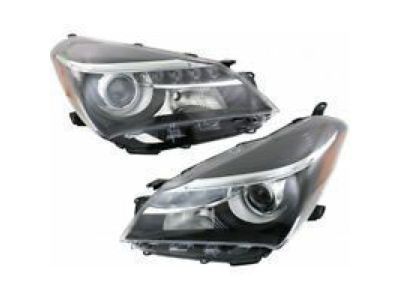
Part Number: 81170-0DK30$278.62 MSRP: $399.52You Save: $120.90 (31%)Ships in 1-2 Business DaysToyota Yaris Passenger Side Headlight Unit
Part Number: 81130-0DA70$163.55 MSRP: $232.52You Save: $68.97 (30%)Ships in 1-2 Business DaysToyota Yaris Driver Side Headlight Assembly Composite
Part Number: 81170-52601$134.42 MSRP: $191.11You Save: $56.69 (30%)Ships in 1-3 Business DaysToyota Yaris Passenger Side Headlight Unit Assembly
Part Number: 81130-0DK30$278.62 MSRP: $399.52You Save: $120.90 (31%)Ships in 1-2 Business DaysToyota Yaris Passenger Side Headlight Unit
Part Number: 81130-52D30$218.65 MSRP: $313.52You Save: $94.87 (31%)Ships in 1-3 Business DaysToyota Yaris Driver Side Headlight Unit
Part Number: 81170-0DA70$163.55 MSRP: $232.52You Save: $68.97 (30%)Ships in 1-3 Business DaysToyota Yaris Driver Side Headlight Unit
Part Number: 81170-52D30$218.65 MSRP: $313.52You Save: $94.87 (31%)Ships in 1-3 Business DaysToyota Yaris Passenger Side Headlight Unit
Part Number: 81130-52E20$218.65 MSRP: $313.52You Save: $94.87 (31%)Ships in 1-3 Business DaysToyota Yaris Passenger Side Headlight Unit
Part Number: 81130-0DA80$360.12 MSRP: $530.10You Save: $169.98 (33%)Ships in 1-3 Business DaysToyota Yaris Passenger Side Headlight Unit Assembly
Part Number: 81130-52F20$196.49 MSRP: $281.76You Save: $85.27 (31%)Ships in 1-3 Business DaysToyota Yaris Driver Side Headlight Unit Assembly
Part Number: 81170-52A80$127.64 MSRP: $181.46You Save: $53.82 (30%)Ships in 1-3 Business DaysToyota Yaris Driver Side Headlight Unit
Part Number: 81170-0DA80$360.12 MSRP: $530.10You Save: $169.98 (33%)Ships in 1-3 Business DaysToyota Yaris Passenger Side Headlight Unit Assembly
Part Number: 81130-0DK40$363.40 MSRP: $534.92You Save: $171.52 (33%)
| Page 1 of 2 |Next >
1-20 of 29 Results
Toyota Yaris Headlight
If you are in demand for superior quality and affordable OEM Toyota Yaris Headlight, then shop with us! We own a wide range of the reduced-priced genuine Toyota Yaris Headlight. You can purchase in confidence as all parts come with a manufacturer's warranty. Any issues with our products? No need to worry as we have a hassle-free return policy to guide you every step of the way.
Toyota Yaris Headlight Parts Questions & Experts Answers
- Q: How to remove and refit the headlight, foglight and Tail Light on Toyota Yaris?A: Before removing any switch, disconnect the battery negative lead and position the lead away from the battery. To remove the headlight, first take off the front bumper, then unscrew the two securing screws on top of the unit and lift the mountings to release them from the front panel. Use a screwdriver to prise up the retaining tab at the front lower corner of the light unit, then pull the unit forwards slightly to disconnect the outer rear securing clip. Slide the unit forwards and disconnect the four wiring connectors from the back of the headlight, which include three bulbholders and one adjustment motor, before removing it. If the headlight is damaged, the lens can be unclipped and replaced, ensuring to check the condition of the seal between the lens and the light unit. Reinstallation follows the reverse order of removal. The front indicator is integral with the headlight. For the front foglight, turn the steering wheel for better access to the front of the wheel arch, remove the three cross-head screws securing the front half of the wheel arch liner, and pull the liner back to access the bulbholder. Disconnect the wiring plug by pressing the back and pulling it down, then carefully prise the foglight front trim panel from the bumper using a small screwdriver. Remove the mounting bolt at the back, unclip, and take out the light from the bumper, with reinstallation being the reverse of removal. The procedure for the indicator side repeater light is included in the bulb renewal process. To access the rear lights, open the tailgate and unclip the trim panel from the back of the light unit to reach the bulbholders. Disconnect the wiring plug from the bulbholder, support the light from outside, and unscrew the central nut from the back of the light. Remove the light from the car, noting it may be stuck on the body seal, and ensure to check the condition of the body seal before fitting the light back, replacing it if necessary to prevent water leaks. The procedure for the rear number plate light and high-level stop-light is also part of the bulb renewal process, where instead of twisting the bulbholder off the light, the wiring plug on the back of the bulbholder should be disconnected.

