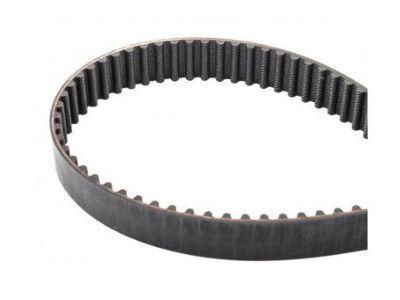
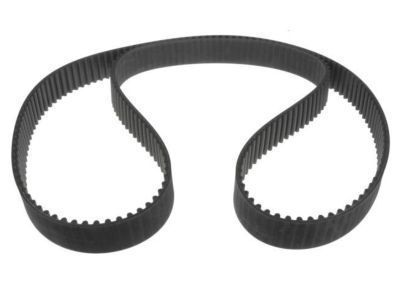
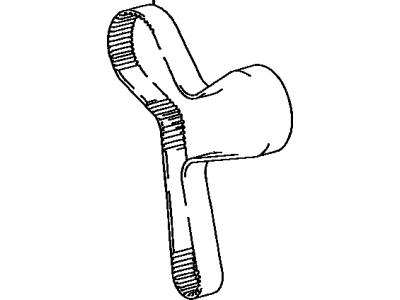
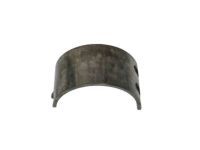
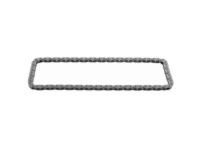
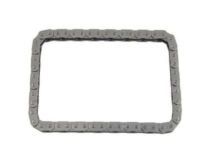
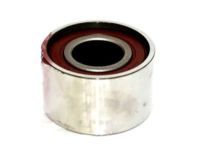
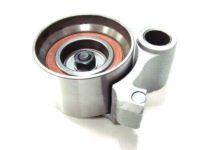
To remove the components, begin by unplugging the negative terminal on the battery; then follows the removal of the coolant overflow tank, the windshield washer tank, the cowl cover, and the right front inner fender apron. Next, the drive belts are to be removed from the alternator and the power steering pump and the alternator brace is also to be removed. Slightly, unscrew the lug nuts on the right front wheel while they are still on the car, lift the front part of the vehicle and firmly place it on jackstands, engage the parking brake and block the back wheels. The right front wheel has to be dismantled, and while doing so place the number one cylinder at the TDC. Place the car on a rise and support it with a jack from below, then, dismantle the engine movement control rod and its bracket; at the same time, do not put the jack under the oil pan drain plug. Take out the spark plugs next and then the upper timing belt cover and its gasket; it is also important to release the wiring harness situated over the cover. Look at the presence of installation marks on the timing belt and ensure the it splits on the camshaft pulley timing marks. Disengage the timing belt tensioner and take out the tension between the camshaft sprockets once you plan to take out the timing belt. Depending on the model; it may be necessary to remove the camshaft sprockets with a two-pin spanner or a wrench. Move on & strip the upper idler pulley, the crankshaft pulley bolt and the lower timing belt cover and gasket. Remove the timing belt guide from the crankshaft and ensure marks on the belt next to the drilled mark on the crankshaft sprocket. Take off the no. 1 idler pulley and plate washer, in addition, when removing the crankshaft sprocket be careful not to break the crankshaft sensor. Check the idler pulleys and their ability to rotate smoothly and examine the Play in the belt and look for cracks in the timing belt or missing teeth. If the belt appears worn or damaged in any point, it is recommended to change it for a new one, also it's crucial to examine the state of the belt tensioner, particularly in the cases when there are signs of oil leakage as well as when the protrusion of the tensioner isn't sufficient. Debris the timing belt area, position the crankshaft timing sprocket and bolt it in position with the flange facing up. You have to take thread-locking compound, put it on to the idler pulley bolt, position the idler pulley and fit the timing belt to the crankshaft sprocket. Place the belt on the crankshaft slots, put back the lower timing belt cover, crankshaft then install the crankshaft pulley in the right manner. Fix the upper idler pulley and also the front camshaft sprocket and while doing this tighten the retaining bolt and make sure the timing marks are correct. Loosen the front camshaft sprocket slightly and place the belt on it then on the rear sprocket. The last step is to compress the timing belt tensioner pushrod then installing the tensioner then the crankshaft need to be turned for two revolutions to verify the timing marks. Replace mounting bracket of the engine movement control rod, upper timing belt cover and engine movement control rod, and braces by tightening all the bolts in proper sequences, and install all other parts in reverse order to which they were removed.
Posted by ToyotaPartsDeal Specialist