
My Garage
My Account
Cart
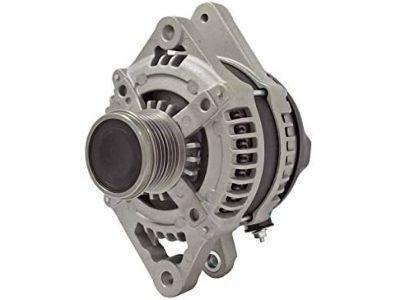
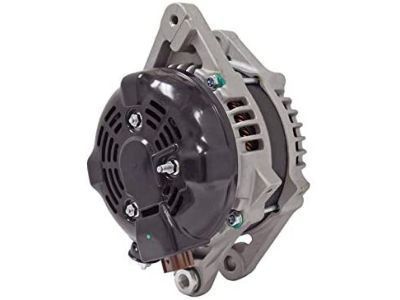
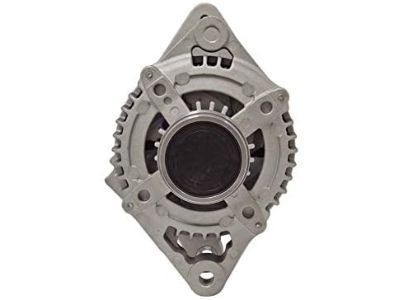
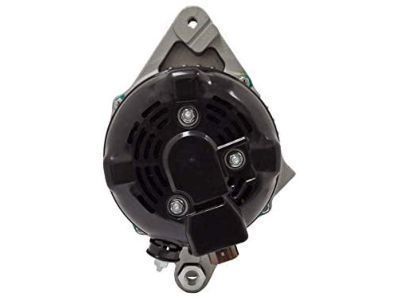
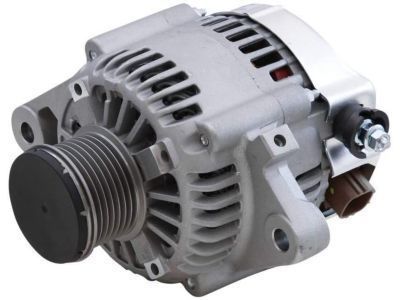
Genuine Toyota Alternator
Generator- Select Vehicle by Model
- Select Vehicle by VIN
Select Vehicle by Model
orMake
Model
Year
Select Vehicle by VIN
For the most accurate results, select vehicle by your VIN (Vehicle Identification Number).
401 Alternators found
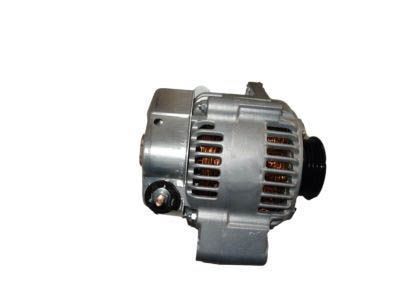
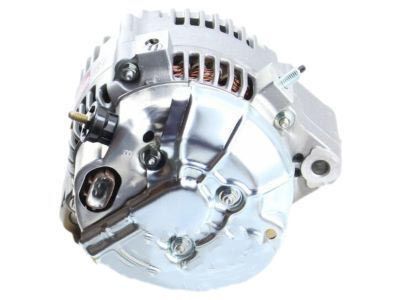
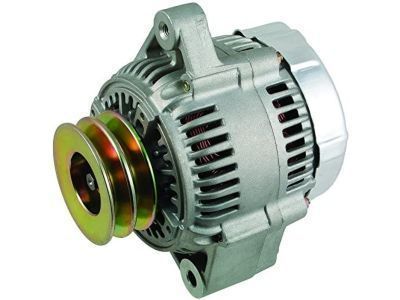
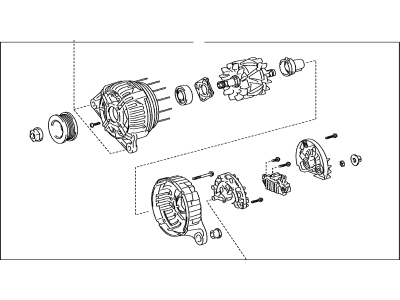
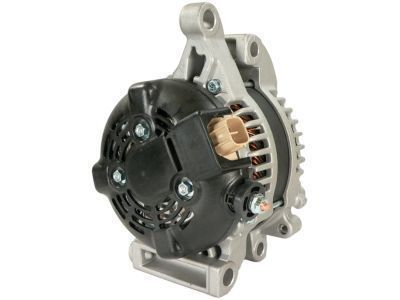
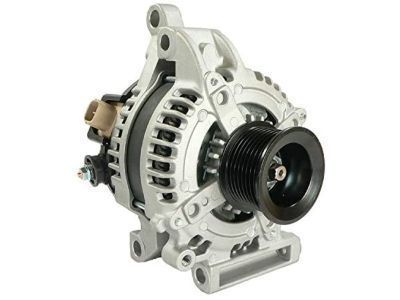
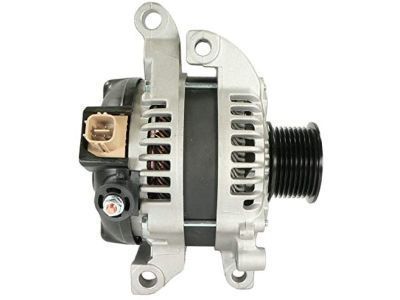
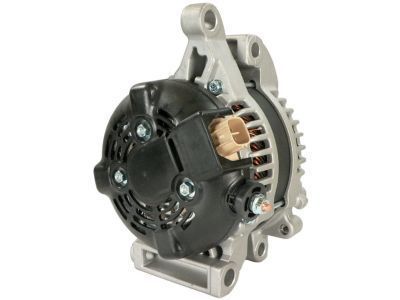
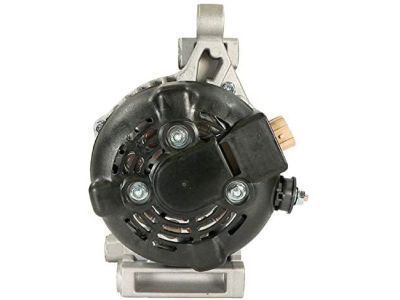
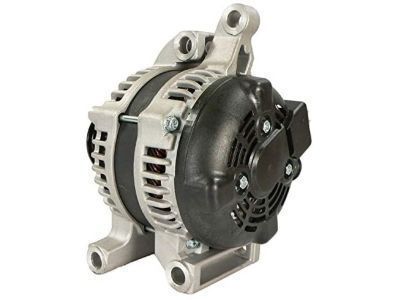
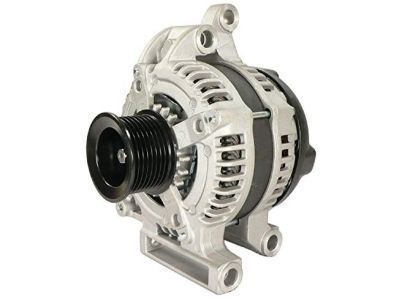
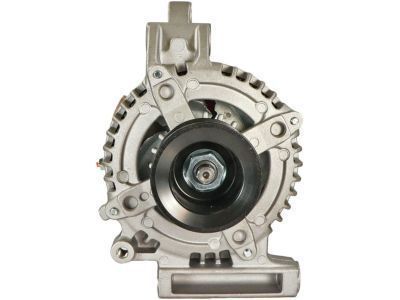
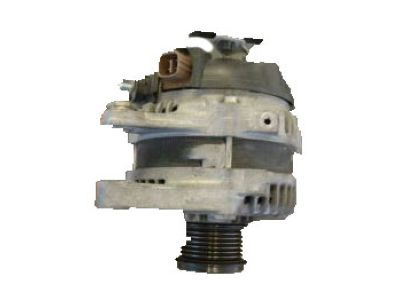
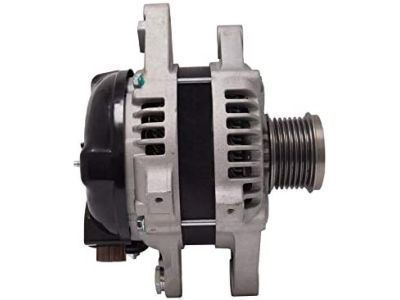
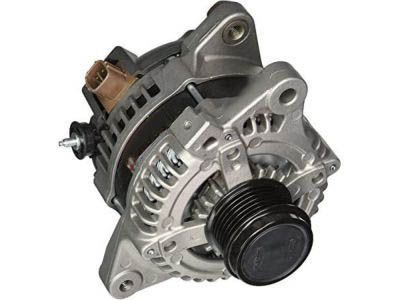
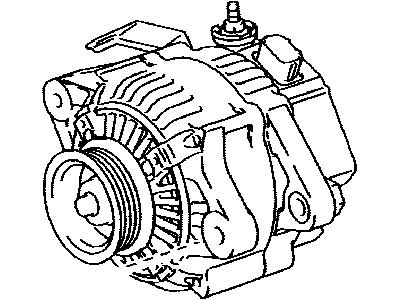
Toyota Alternator Assembly
Part Number: 27060-62160$190.97 MSRP: $255.11You Save: $64.14 (26%)Ships in 1-3 Business DaysProduct Specifications- Other Name: Alternator Assy
- Manufacturer Note: 12V 80A
- Replaced by: 27060-62160-84
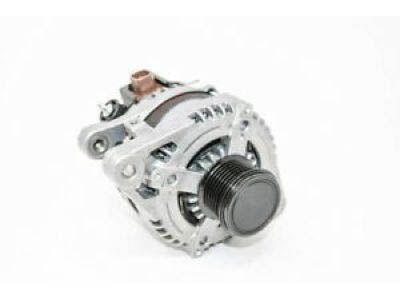
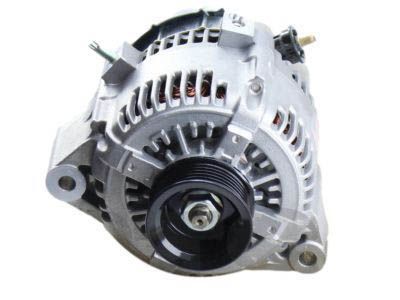
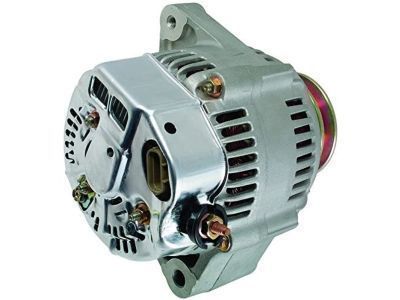
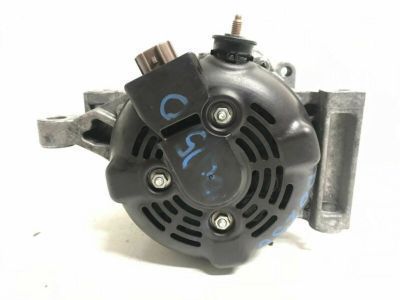
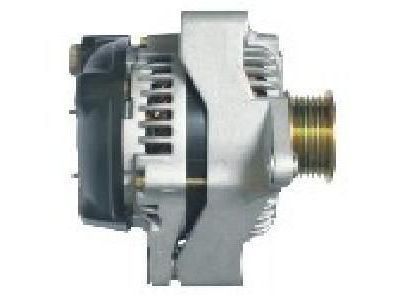
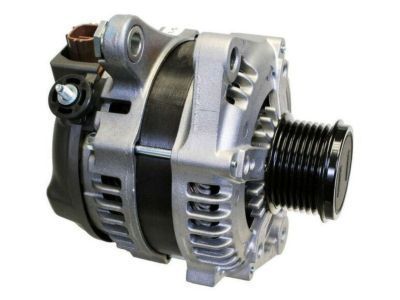
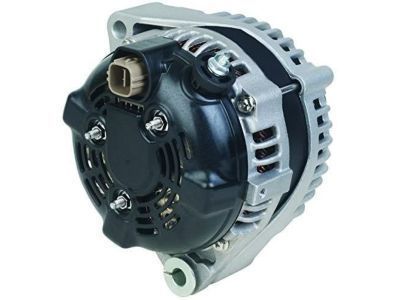
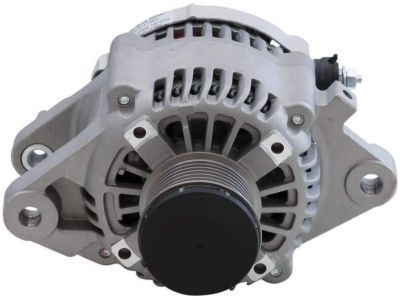
Toyota Alternator Assembly W/Regulator
Part Number: 27060-0P241$289.24 MSRP: $387.48You Save: $98.24 (26%)Ships in 1-3 Business DaysProduct Specifications- Other Name: Alternator Assembly, W/R
- Replaced by: 27060-0P241-84
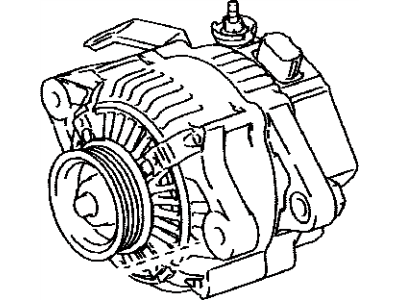
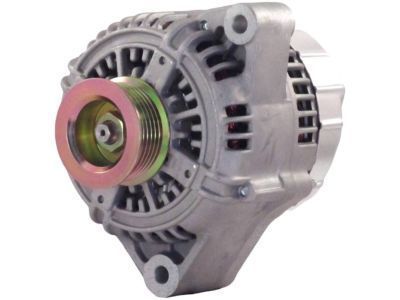
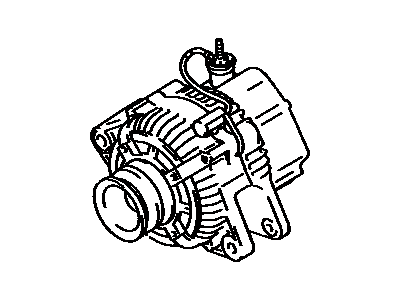
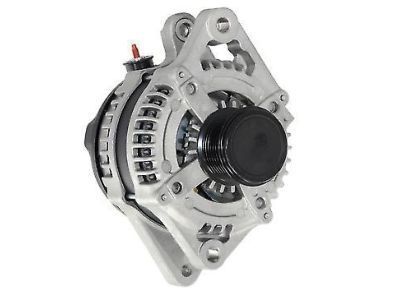
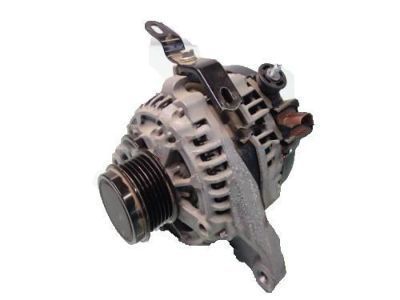
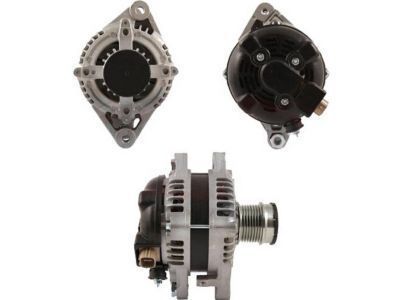
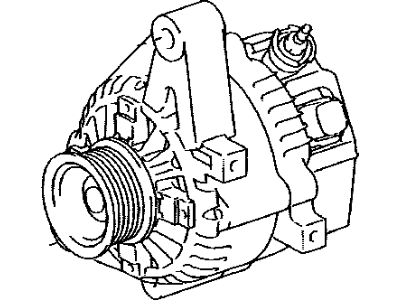
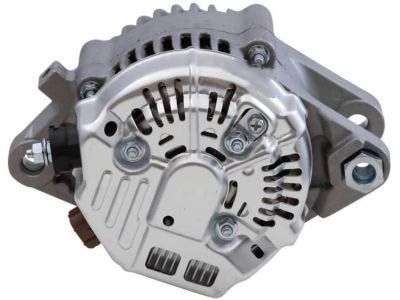
Toyota Alternator Assembly
Part Number: 27060-50260$144.19 MSRP: $190.45You Save: $46.26 (25%)Ships in 1-3 Business DaysProduct Specifications- Other Name: Alternator Assy
- Manufacturer Note: 12V 100A
- Replaced by: 27060-50260-84
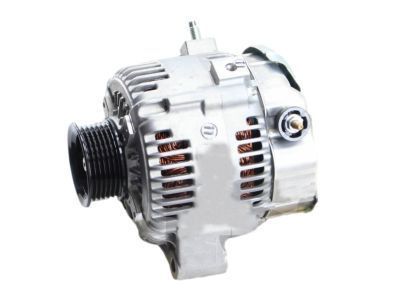
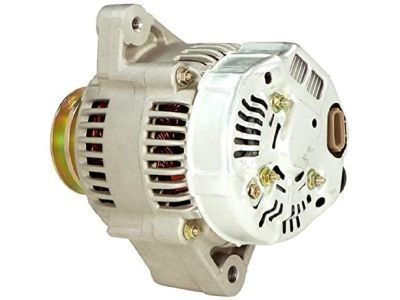
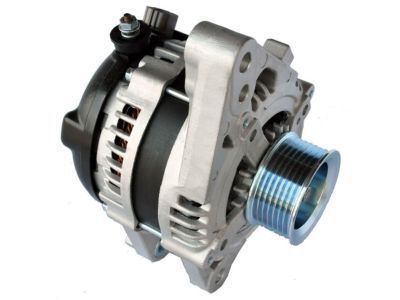
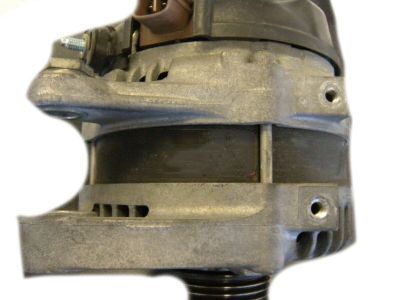
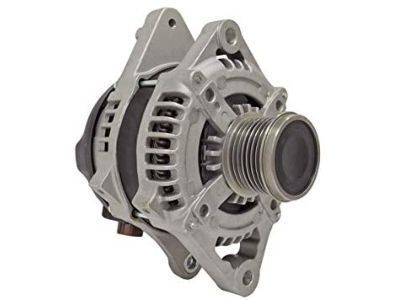
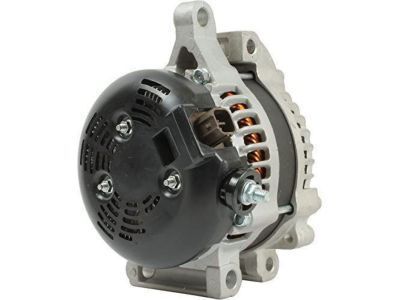
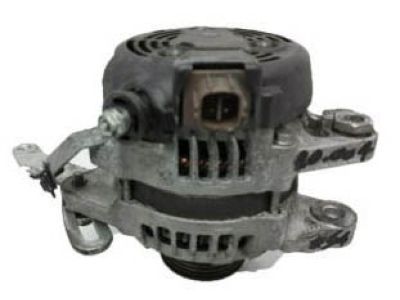
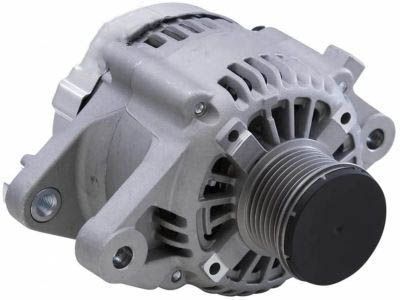
Toyota Alternator Assembly
Part Number: 27060-66070$191.28 MSRP: $255.53You Save: $64.25 (26%)Ships in 1-3 Business DaysProduct Specifications- Other Name: Alternator Assy
- Manufacturer Note: 12V 80A
- Replaced by: 27060-66070-84
Toyota Generator Alternator
Part Number: 27060-0P020$244.97 MSRP: $327.84You Save: $82.87 (26%)Ships in 1-3 Business DaysProduct Specifications- Other Name: Alternator Assy
- Replaced by: 27060-0P020-84
Toyota Alternator Assembly
Part Number: 27060-0S020$375.60 MSRP: $552.89You Save: $177.29 (33%)Ships in 1-3 Business DaysProduct Specifications- Other Name: Alternator Assy; Alternator
Toyota Alternator Assembly W/Regulator
Part Number: 27060-31190$342.72 MSRP: $504.48You Save: $161.76 (33%)Ships in 1-2 Business DaysProduct Specifications- Other Name: Alternator Assembly, W/R; Alternator
- Manufacturer Note: 12V 130A,ACCESSORY CONNECTOR-12V 120W & AC120V 400W
Toyota Alternator Assembly
Part Number: 27060-0F050$265.38 MSRP: $355.34You Save: $89.96 (26%)Ships in 1-3 Business DaysProduct Specifications- Other Name: Alternator Assy
- Manufacturer Note: 12V 150A
- Replaced by: 27060-0F050-84
Toyota Alternator Assembly W/Regulator
Part Number: 27060-0V170$477.76 MSRP: $703.27You Save: $225.51 (33%)Ships in 1-3 Business DaysProduct Specifications- Other Name: Alternator Assembly, W/R; Alternator
- Manufacturer Note: 12V 100A
- Replaces: 27060-36080
Toyota Alternator Assembly
Part Number: 27060-50320$208.61 MSRP: $278.88You Save: $70.27 (26%)Ships in 1-2 Business DaysProduct Specifications- Other Name: Alternator Assy
- Manufacturer Note: 12V 130A
- Replaced by: 27060-50320-84
Toyota Alternator Assembly
Part Number: 27060-50360$226.28 MSRP: $302.67You Save: $76.39 (26%)Ships in 1-3 Business DaysProduct Specifications- Other Name: Alternator Assy
- Manufacturer Note: 12V 130A
- Replaced by: 27060-50360-84
Toyota Alternator Assembly W/Regulator
Part Number: 27060-31180$323.35 MSRP: $463.66You Save: $140.31 (31%)Ships in 1-3 Business DaysProduct Specifications- Other Name: Alternator Assembly, W/R
- Manufacturer Note: 12V 100A
- Replaced by: 27060-31260
Toyota Alternator Assembly W/Regulator
Part Number: 27060-31260$323.35 MSRP: $463.66You Save: $140.31 (31%)Ships in 1-3 Business DaysProduct Specifications- Other Name: Alternator Assembly, W/R; Alternator
- Manufacturer Note: 12V 100A
- Replaces: 27060-31180
Toyota Alternator Assembly
Part Number: 27060-38050$442.50 MSRP: $651.35You Save: $208.85 (33%)Ships in 1-3 Business DaysProduct Specifications- Other Name: Alternator Assy; Alternator
Toyota Alternator Assembly W/Regulator
Part Number: 27060-37041$342.94 MSRP: $504.82You Save: $161.88 (33%)Ships in 1-3 Business DaysProduct Specifications- Other Name: Alternator Assembly, W/R; Alternator
- Manufacturer Note: 12V 100A
- Replaces: 27060-37040
Toyota Alternator Assembly
Part Number: 27060-0F040$221.66 MSRP: $296.45You Save: $74.79 (26%)Ships in 1-2 Business DaysProduct Specifications- Other Name: Alternator Assy
- Manufacturer Note: 12V 130A
- Replaced by: 27060-0F040-84
Toyota Alternator Assembly W/Regulator
Part Number: 27060-21151$331.40 MSRP: $475.20You Save: $143.80 (31%)Ships in 1-3 Business DaysProduct Specifications- Other Name: Alternator Assembly, W/R; Alternator
- Manufacturer Note: 12V 80A
- Replaces: 27060-21150
Toyota Alternator Assembly W/Regulator
Part Number: 27060-75490$344.53 MSRP: $507.14You Save: $162.61 (33%)Ships in 1-3 Business DaysProduct Specifications- Other Name: Alternator Assembly, W/R; Alternator
- Manufacturer Note: 12V 80A
- Replaces: 27060-75412, 27060-75413
Toyota Alternator Assembly W/Regulator
Part Number: 27060-0T130$253.63 MSRP: $339.52You Save: $85.89 (26%)Ships in 1-3 Business DaysProduct Specifications- Other Name: Alternator Assembly, W/R
- Manufacturer Note: 12V 100A
- Replaced by: 27060-0T130-84
Toyota Alternator Assembly W/Regulator
Part Number: 27060-0V010$477.76 MSRP: $703.27You Save: $225.51 (33%)Ships in 1-3 Business DaysProduct Specifications- Other Name: Alternator Assembly, W/R
- Manufacturer Note: 12V 100A
| Page 1 of 21 |Next >
1-20 of 401 Results
About Toyota Alternator
The penultimate undertaking of a Toyota alternator is to charge the vehicle battery while it runs, while at the same time providing supplementary electric power for your electrical system. While your engine runs, it drives a pulley which in turn spins the alternator's internal components, which then generates the electricity required by your vehicle. Your alternator is located at the front or on the side of your Toyota engine, near other engine accessories such as a power steering pump. An alternator that has been overloaded or overworked will generally start to lose its functionality, until it dies altogether.
The basic replacement process involves disconnecting the battery and any wires or connectors attached to the alternator, removing any long mounting bolts, remove the belt from its pulley, then remove your failed unit and replace it with the new one. Purchasing a new Toyota alternator is the best choice when you are looking to pick up where the Toyota factory line left off. Do not wait until you are stranded, know the signs! A common sign of alternator failure being eminent is when your headlights and electrical parts in your automobile, such as the radio and gauges, are visibly very dimly lit.
Hey, it is the hello from ToyotaPartsDeal.com. We can always be your first choice due to several reasons: an easy-to-navigate website, a hard-working customer service team, an affordable and competitive price, the brand new genuine parts, the professional and skillful part specialists, and the no-hassle return service. We have more to impress you. You do not want to waste your time and money buying a useless Toyota part, or a part does not fit your car. Every customer is so valuable for us that we have part support via email offered to verify the part. You will never regret having business with ToyotaPartsDeal.com.
Toyota Alternator Parts Questions & Experts Answers
- Q: How to remove and install the alternator on 2002 through 2006 Toyota Avalon?A:To remove the alternator, first detach the cable from the negative terminal of the battery, then remove the drivebelt. Next, detach the electrical connectors from the alternator and the electrical harness that goes over it. Remove the two bolts securing the alternator, and for V6 models, loosen the alternator adjustment bolt to take off the drivebelt before removing the two alternator mounting bolts. If replacing the alternator, take the old unit when purchasing a new or rebuilt one, ensuring it is identical in terms of terminal number, size, and location, as well as matching identification markings. Many new or rebuilt alternators may not come with a pulley, so check the shop's policy on switching pulleys from the old unit. Installation follows the reverse order of removal, and after installation, adjust the drivebelt tension and check the charging voltage to ensure the alternator operates correctly.
- Q: How to disassembly, component checks, and reassembly of the alternator on 1996 through 2002 Toyota 4Runner?A:To disassemble the alternator, first remove it and place it on a clean workbench. Next, take off the rear cover nuts, the nut, and terminal insulator, followed by the rear cover. Remove the mounting screws for the voltage regulator and brush holder, then take out the brush holder and regulator from the rear end frame. If only the regulator is being replaced, install the new unit and reassemble the alternator. If replacing the brushes, measure the exposed length of each brush and compare it to the minimum length; if either is below the specified minimum, replace the brushes and brush holder assembly, ensuring each brush moves smoothly. Remove the rectifier assembly by taking out the mounting screws, then remove the rubber insulators and seal plate. Mark the front and rear end frame housings for reassembly, then remove the nut retaining the pulley to the rotor shaft and take off the pulley. Separate the rear end frame assembly from the front end frame by removing the four nuts, then take out the thrust washer and rotor. For component checks, ensure continuity between the rotor slip rings and check for grounds; there should be no continuity between the rotor and either slip ring. Check for opens between each end terminal of the stator windings, and if any reading is high, the stator is defective. For the positive rectifier assembly, check continuity with an ohmmeter, ensuring continuity one way and none when the probes are reversed; repeat for the negative diode assembly. For reassembly, install components in reverse order, ensuring to depress each brush with a small screwdriver to clear the shaft during brush holder installation, followed by securing the voltage regulator and brush holder screws, the rear cover, terminal insulator, and finally reinstalling the alternator.
- Q: How to disassemble and reassemble the alternator on 1993 and later Toyota Land Cruiser?A:1980 through 1987 models have an integral voltage regulator mounted on the side of the alternator body, accessible with the alternator in the vehicle. 1988 through 1992 models have a true internal regulator attached to the rectifier assembly within the alternator body. 1993 and later models have an integral voltage regulator and brush assembly accessible by removing the rear cover from the back of the alternator. The alternator must be removed from the vehicle first. This procedure covers only the 1993 and later models. The alternators are basically the same but differ in voltage regulator designs. To disassemble, remove the alternator and place it on a clean workbench. Remove the rear cover nuts, nut and terminal insulator, and the rear cover. Remove the five voltage regulator and brush holder mounting screws. Remove the brush holder and regulator from the rear end frame. If only replacing the regulator, proceed to install the new unit, reassemble the alternator, and install it on the engine. If replacing the brushes, measure the exposed length of each brush and compare it to the minimum length. If necessary, replace the brushes and brush holder assembly. Make sure each brush moves smoothly in the brush holder. Remove the rectifier assembly by removing the mounting screws, rubber insulators, and seal plate. Scribe or paint marks on the front and rear end frame housings for reassembly. Remove the nut retaining the pulley to the rotor shaft and remove the pulley. Remove the four nuts retaining the front and rear end frames together, then separate the rear end frame assembly from the front end frame. Remove the thrust washer and remove the rotor from the front end frame. For component checks, check for an open between the two slip rings and for grounds between each slip ring and the rotor. Check for opens between each end terminal of the stator windings and for a grounded stator winding between each stator terminal and the frame. Check the positive and negative rectifiers by checking continuity and polarity. If any components fail the tests, they are defective. To reassemble, install the components in the reverse order of removal, ensuring the brush holder is depressed to clear the shaft. Tighten all nuts and screws securely. Finally, install the alternator.
Related Toyota Parts
Browse by Model
4Runner Alternator 86 Alternator Avalon Alternator C-HR Alternator Camry Alternator Celica Alternator Corolla Alternator Corolla Cross Alternator Corolla iM Alternator Corona Alternator Cressida Alternator Echo Alternator FJ Cruiser Alternator GR Corolla Alternator GR Supra Alternator GR86 Alternator Grand Highlander Alternator Highlander Alternator Land Cruiser Alternator MR2 Alternator MR2 Spyder Alternator Matrix Alternator Paseo Alternator Pickup Alternator Previa Alternator RAV4 Alternator Sequoia Alternator Sienna Alternator Solara Alternator Starlet Alternator Supra Alternator T100 Alternator Tacoma Alternator Tercel Alternator Tundra Alternator Van Alternator Venza Alternator Yaris Alternator Yaris iA Alternator
