×
- Live Chat
- 1-888-905-9199


My Garage
My Account
Cart
Genuine Toyota Matrix Shock Absorber
Suspension Shock Absorber- Select Vehicle by Model
- Select Vehicle by VIN
Select Vehicle by Model
orMake
Model
Year
Select Vehicle by VIN
For the most accurate results, select vehicle by your VIN (Vehicle Identification Number).
55 Shock Absorbers found
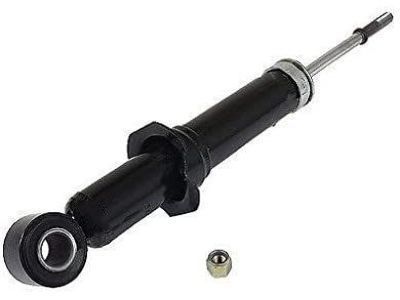
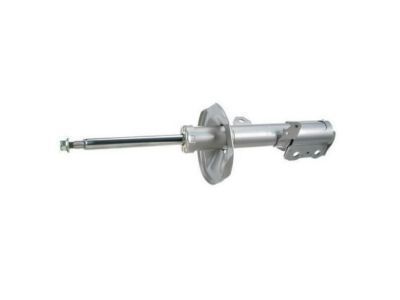
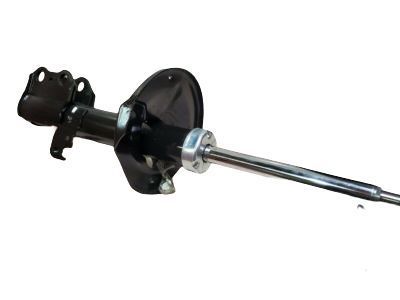
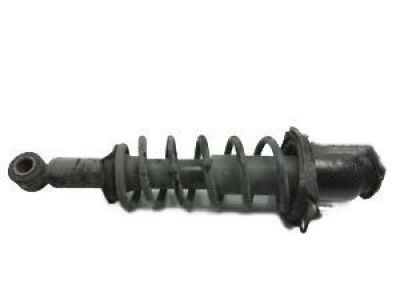
Toyota Matrix Shock Absorber Assembly Rear Left
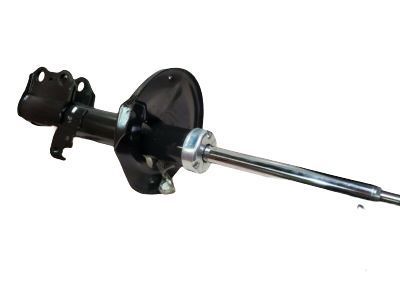
Part Number: 48530-A9560$107.25 MSRP: $151.18You Save: $43.93 (30%)Ships in 1-3 Business DaysToyota Matrix Shock Absorber Assembly Front Right
Part Number: 48510-A9320$117.99 MSRP: $166.32You Save: $48.33 (30%)Ships in 1-3 Business DaysToyota Matrix Shock Absorber Assembly Front Right
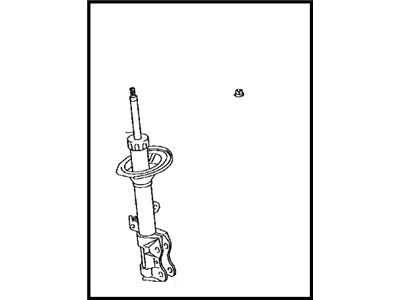
Part Number: 48510-A9340$117.28 MSRP: $165.32You Save: $48.04 (30%)Ships in 1-3 Business DaysToyota Matrix Shock Absorber Assembly Rear Left
Part Number: 48530-09F90$108.31 MSRP: $152.68You Save: $44.37 (30%)Ships in 1-3 Business DaysToyota Matrix Shock Absorber Assembly Front Right
Part Number: 48510-A9220$117.28 MSRP: $165.32You Save: $48.04 (30%)Ships in 1-3 Business DaysToyota Matrix Shock Absorber Assembly Rear Right
Part Number: 48530-A9540$103.24 MSRP: $145.52You Save: $42.28 (30%)Ships in 1-3 Business DaysToyota Matrix Shock Absorber Assembly Front Left
Part Number: 48520-A9180$117.99 MSRP: $166.32You Save: $48.33 (30%)Ships in 1-3 Business DaysToyota Matrix Shock Absorber Assembly Front Left
Part Number: 48520-09L40$111.73 MSRP: $157.50You Save: $45.77 (30%)Ships in 1-2 Business DaysToyota Matrix Shock Absorber Assembly Front Right
Part Number: 48510-09861$117.76 MSRP: $167.42You Save: $49.66 (30%)Ships in 1-3 Business DaysToyota Matrix Shock Absorber Assembly Rear Right
Part Number: 48530-02560$79.64 MSRP: $112.26You Save: $32.62 (30%)Ships in 1-2 Business DaysToyota Matrix Shock Absorber Assembly Rear Right
Part Number: 48530-A9550$75.63 MSRP: $106.60You Save: $30.97 (30%)Ships in 1-3 Business DaysToyota Matrix Shock Absorber Assembly Front Left
Part Number: 48520-09750$117.28 MSRP: $165.32You Save: $48.04 (30%)Ships in 1-3 Business DaysToyota Matrix Shock Absorber Assembly Front Left
Part Number: 48520-09L20$111.73 MSRP: $157.50You Save: $45.77 (30%)Ships in 1-3 Business DaysToyota Matrix Shock Absorber Assembly Front Left
Part Number: 48520-09740$128.22 MSRP: $182.28You Save: $54.06 (30%)Ships in 1-3 Business DaysToyota Matrix Shock Absorber Assembly Rear Right
Part Number: 48530-02580$98.40 MSRP: $138.70You Save: $40.30 (30%)Ships in 1-3 Business DaysToyota Matrix Shock Absorber Assembly Front Left
Part Number: 48520-09L10$111.73 MSRP: $157.50You Save: $45.77 (30%)Ships in 1-3 Business DaysToyota Matrix Shock Absorber Assembly Front Right
Part Number: 48510-09T10$111.73 MSRP: $157.50You Save: $45.77 (30%)Ships in 1-2 Business DaysToyota Matrix Shock Absorber Assembly Rear Left
Part Number: 48530-02590$98.40 MSRP: $138.70You Save: $40.30 (30%)Ships in 1-3 Business DaysToyota Matrix Shock Absorber Assembly Front Right
Part Number: 48510-09T00$111.73 MSRP: $157.50You Save: $45.77 (30%)Ships in 1-3 Business DaysToyota Matrix Shock Absorber Assembly Front Right
Part Number: 48510-09S80$111.73 MSRP: $157.50You Save: $45.77 (30%)Ships in 1-3 Business Days
| Page 1 of 3 |Next >
1-20 of 55 Results
Toyota Matrix Shock Absorber
If you are in demand for superior quality and affordable OEM Toyota Matrix Shock Absorber, then shop with us! We own a wide range of the reduced-priced genuine Toyota Matrix Shock Absorber. You can purchase in confidence as all parts come with a manufacturer's warranty. Any issues with our products? No need to worry as we have a hassle-free return policy to guide you every step of the way.
Toyota Matrix Shock Absorber Parts Questions & Experts Answers
- Q: How to remove, inspect, and install a strut assembly on Toyota Matrix?A: Before removing the wheel, it is required to loosen the wheel lug nuts, lift the vehicle, and properly place jackstands under it. Loosen the brake hose bracket on the strut and if there is ABS, then remove the fasten clamp bracket bolt and disconnect the speed sensor wiring harness from the strut while removing the stabilizer link on the strut. Locate the strut to the Steering Knuckle, record positions of the bolts since you may find camber adjusting bolts fitted. The two strut to knuckle nuts have to be detached and the two bolts have to be knocked out with a hammer and punch when the process of disconnected the strut assembly to the steering knuckle is followed. Prise off the strut from the steering knuckle in such a fashion that doesn't pull the intricate inner CV joint apart or allow the steering knuckle to drop sideways putting pressure on the brake hose. Of course, it is easier to remove the assembly with help, but you have to uninstall three nuts connecting the upper end of the strut assembly to the body and take the assembly out from the fenderwell. Look for signs of leakage, dents, cracks or any other signs that suggest that it needs to be fixed or replaced on the strut body, while on the coil spring look for any chipping on the coating or the spring seat should also be checked to see whether it has hard, cuts or has deteriorated. If these are such unfavorable conditions, go on to dismantle the strut. Pull the strut assembly up into the fenderwell, align the holes on the strut assembly with the body, and thread the nuts so that the strut does not fall back through it and is easier when acquiring help due to the heaviness of the strut assembly. Slide the steering knuckle into the strut flange, insert the two bolts, the match-marks on the knuckle face and strut face should agree with each other as they are marked previously, and tighten the nuts. Attach the brake hose bracket to the strut and tighten the bolt; if the car has ABS it will have the speed sensor wiring harness bracket. Lastly, bolt the wheel back on and tighten the lug nuts, drop the car, torque the lug nuts again and the upper mounting nuts and then take the car for a spin to an alignment shop for a front-end alignment and any other required adjustments.
