×
- Live Chat
- 1-888-905-9199


My Garage
My Account
Cart
Genuine Toyota Sienna Engine Mount
Engine Motor Mount- Select Vehicle by Model
- Select Vehicle by VIN
Select Vehicle by Model
orMake
Model
Year
Select Vehicle by VIN
For the most accurate results, select vehicle by your VIN (Vehicle Identification Number).
109 Engine Mounts found
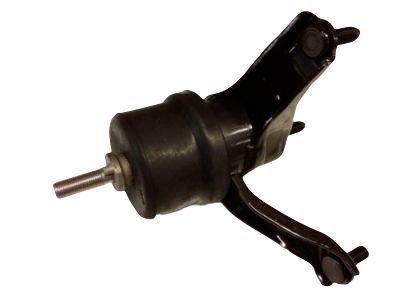
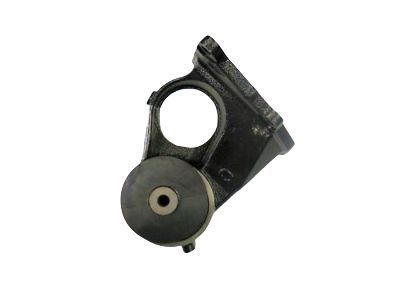
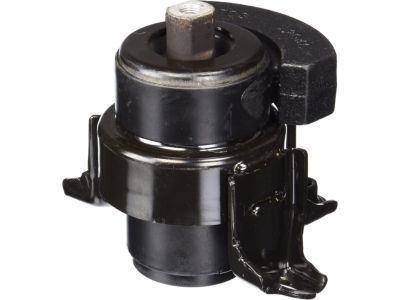
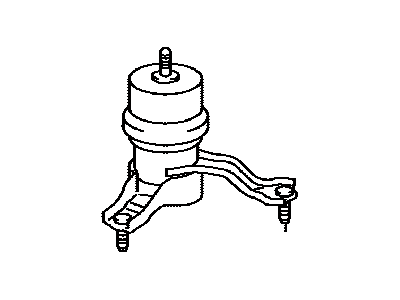
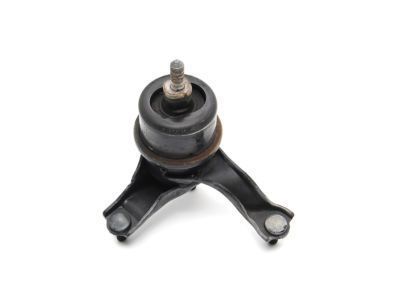
Toyota Sienna INSULATOR, Engine Mounting, LH
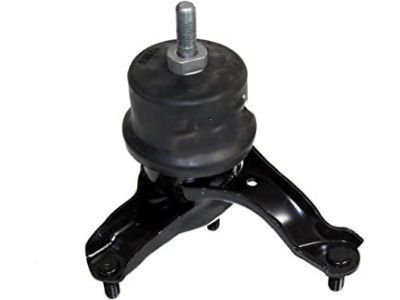
Part Number: 12372-0A040$181.76 MSRP: $260.63You Save: $78.87 (31%)Ships in 1-3 Business DaysToyota Sienna INSULATOR Assembly, ENGI
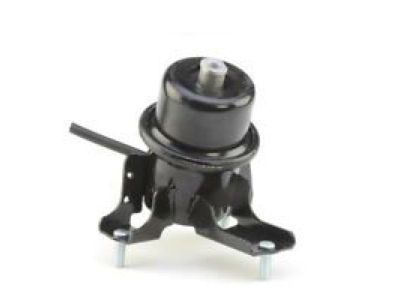
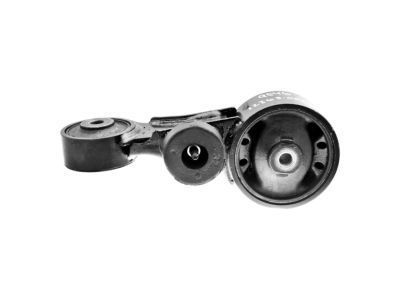
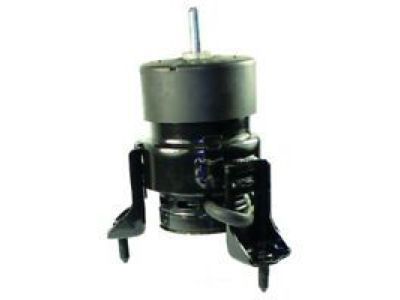
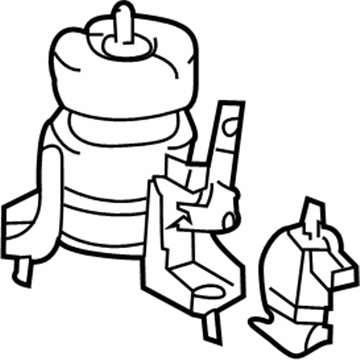
Part Number: 12360-0P110$147.41 MSRP: $209.57You Save: $62.16 (30%)Ships in 1-2 Business DaysToyota Sienna INSULATOR, Engine Mounting, LH
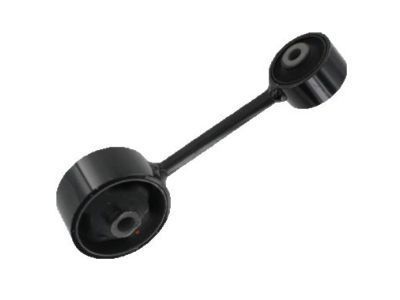
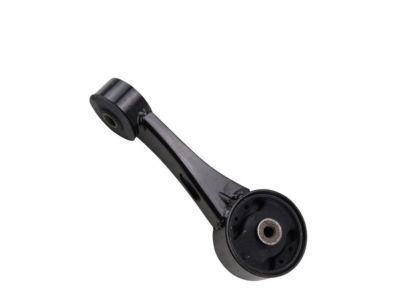
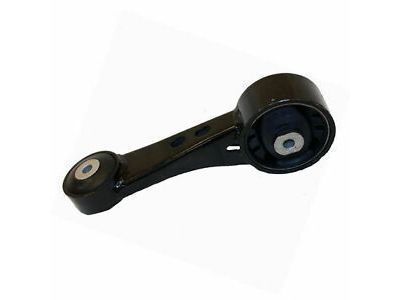
Part Number: 12372-0A020$84.95 MSRP: $119.74You Save: $34.79 (30%)Ships in 1-2 Business DaysToyota Sienna Rod, Engine Moving Control
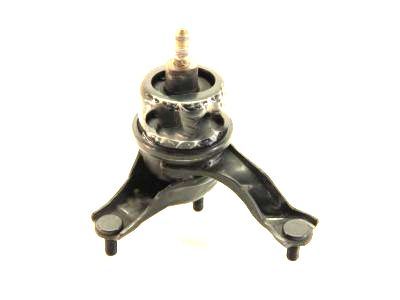
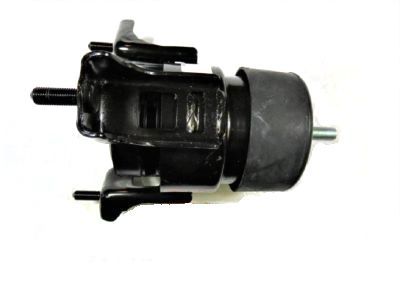
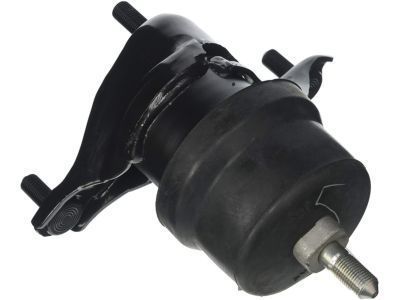
Part Number: 12363-0A081$61.70 MSRP: $86.97You Save: $25.27 (30%)Ships in 1-3 Business DaysToyota Sienna INSULATOR, Engine Mounting, LH
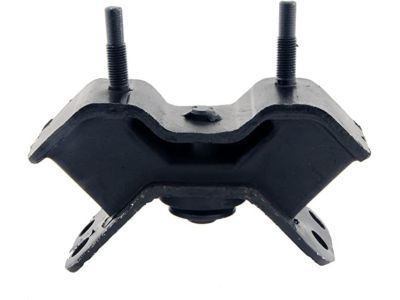
Part Number: 12372-0A050$181.76 MSRP: $260.63You Save: $78.87 (31%)Ships in 1-3 Business DaysToyota Sienna Insulator Assy, Engine Mounting, Rear
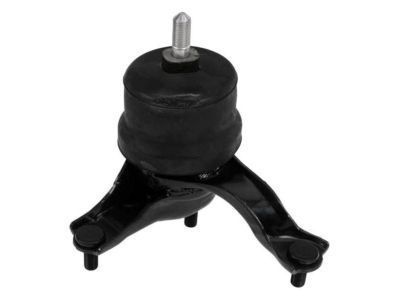
Part Number: 12380-0A031$148.46 MSRP: $211.07You Save: $62.61 (30%)Ships in 1-3 Business DaysToyota Sienna Rod, Engine Moving Control
Part Number: 12363-0P050$102.41 MSRP: $144.36You Save: $41.95 (30%)Ships in 1-2 Business DaysToyota Sienna Rod, Engine Moving Control
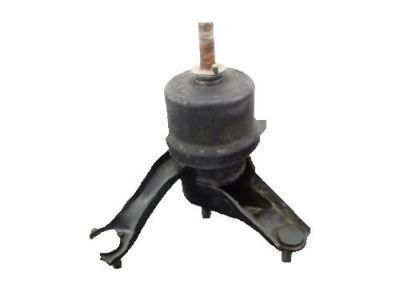
Part Number: 12363-0A040$73.86 MSRP: $104.11You Save: $30.25 (30%)Ships in 1-2 Business DaysToyota Sienna INSULATOR, Engine Mounting, RH
Part Number: 12362-0A030$181.76 MSRP: $260.63You Save: $78.87 (31%)Ships in 1-3 Business DaysToyota Sienna Insulator, Engine Mounting, Front
Part Number: 12361-0A070$181.53 MSRP: $260.29You Save: $78.76 (31%)Ships in 1-2 Business DaysToyota Sienna Insulator Assy, Engine Mounting, Front
Part Number: 12360-0P050$141.79 MSRP: $201.58You Save: $59.79 (30%)Ships in 1-3 Business DaysToyota Sienna Insulator, Engine Mounting, Front
Part Number: 12361-0A130$191.62 MSRP: $274.77You Save: $83.15 (31%)Ships in 1 Business DayToyota Sienna INSULATOR, Engine Mounting, RH
Part Number: 12362-0A020$181.76 MSRP: $260.63You Save: $78.87 (31%)Ships in 1-3 Business DaysToyota Sienna Rod, Engine Moving Control
Part Number: 12363-0P111$77.87 MSRP: $109.77You Save: $31.90 (30%)Ships in 1-2 Business DaysToyota Sienna INSULATOR Assembly, ENGI
Part Number: 12360-0P120$119.56 MSRP: $169.98You Save: $50.42 (30%)Ships in 1-3 Business DaysToyota Sienna INSULATOR, Engine Mounting
Part Number: 12362-0V040$154.66 MSRP: $219.88You Save: $65.22 (30%)Ships in 1-2 Business DaysToyota Sienna INSULATOR, Engine Mounting
Part Number: 12362-0P051$148.93 MSRP: $211.73You Save: $62.80 (30%)Toyota Sienna Rod, Engine Moving Control
Part Number: 12363-0P101$77.87 MSRP: $109.77You Save: $31.90 (30%)Toyota Sienna INSULATOR, Engine Mounting, RH
Part Number: 12362-0P050$148.93 MSRP: $211.73You Save: $62.80 (30%)Toyota Sienna INSULATOR, Engine Mounting, RH
Part Number: 12362-0P040$161.30 MSRP: $229.31You Save: $68.01 (30%)
| Page 1 of 6 |Next >
1-20 of 109 Results
Toyota Sienna Engine Mount
If you are in demand for superior quality and affordable OEM Toyota Sienna Engine Mount, then shop with us! We own a wide range of the reduced-priced genuine Toyota Sienna Engine Mount. You can purchase in confidence as all parts come with a manufacturer's warranty. Any issues with our products? No need to worry as we have a hassle-free return policy to guide you every step of the way.
Toyota Sienna Engine Mount Parts Questions & Experts Answers
- Q: How to check and replace Engine Mount in 3.0L and 3.3L V6 engine on Toyota Sienna?A: Engine mounts seldom require attention, but broken or deteriorated mounts should be replaced immediately to prevent damage or wear on driveline components. During the check, the engine must be raised slightly to remove the weight from the mounts. Raise the vehicle and support it securely on jackstands, then position a jack under the engine Oil Pan with a large block of wood between the jack head and the oil pan. Carefully raise the engine just enough to take the weight off the mounts, avoiding positioning the wood block under the drain plug. Inspect the mounts for cracked, hardened rubber or separation from the metal plates, noting that the rubber may split down the center. Check for relative movement between the mount plates and the engine or frame using a large screwdriver or pry bar; if movement is noted, lower the engine and tighten the mount fasteners. Apply rubber preservative to the mounts to slow deterioration. To replace the mounts, disconnect the negative battery cable and raise the vehicle securely on jackstands if not already done. For the right engine mount, remove the two stays mounted on either side of the bracket on the engine, then remove the mount-to-bracket nuts and detach the mount. The rear mount bracket cradles the insulator, retained by a through-bolt to the chassis bracket; remove the through-bolt and the insulator bolts to take out the rear engine mount. For the front engine mount, remove the nut holding the insulator to the engine bracket, followed by the three bolts securing the insulator to the chassis. Additionally, there is a shock-absorbing mount between the engine and chassis, to the left of the conventional front engine mount; remove the through bolt connecting the mount to the suspension subframe, then the nut and bushing at the top of the shock absorber, and detach the shock from the engine bracket. Installation follows the reverse order of removal, using thread locking compound on the mount bolts and nuts, ensuring they are tightened securely.
Related Toyota Sienna Parts
Browse by Year
2024 Engine Mount 2023 Engine Mount 2022 Engine Mount 2021 Engine Mount 2020 Engine Mount 2019 Engine Mount 2018 Engine Mount 2017 Engine Mount 2016 Engine Mount 2015 Engine Mount 2014 Engine Mount 2013 Engine Mount 2012 Engine Mount 2011 Engine Mount 2010 Engine Mount 2009 Engine Mount 2008 Engine Mount 2007 Engine Mount 2006 Engine Mount 2005 Engine Mount 2004 Engine Mount 2003 Engine Mount 2002 Engine Mount 2001 Engine Mount 2000 Engine Mount 1999 Engine Mount 1998 Engine Mount
