
My Garage
My Account
Cart
Genuine Toyota Solara Rack And Pinion
Steering Rack And Pinion- Select Vehicle by Model
- Select Vehicle by VIN
Select Vehicle by Model
orMake
Model
Year
Select Vehicle by VIN
For the most accurate results, select vehicle by your VIN (Vehicle Identification Number).
6 Rack And Pinions found
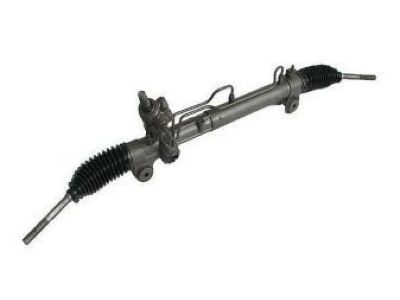
Toyota Solara Power Steering Gear Assembly(For Rack & Pinion)
Part Number: 44250-AA010$640.98 MSRP: $957.08You Save: $316.10 (34%)Ships in 1-3 Business DaysToyota Solara Power Steering Gear Assembly(For Rack & Pinion)
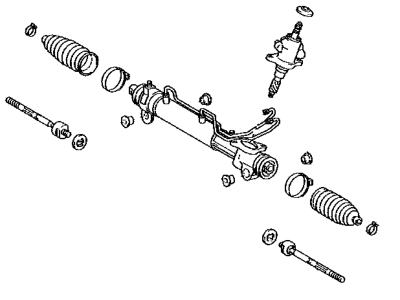
Part Number: 44250-AA011$640.98 MSRP: $957.08You Save: $316.10 (34%)Ships in 1-3 Business DaysToyota Solara Power Steering Gear Assembly(For Rack & Pinion)
Part Number: 44250-06081$622.31 MSRP: $928.99You Save: $306.68 (34%)Ships in 1-3 Business DaysToyota Solara Power Steering Rack Sub-Assembly
Part Number: 44204-06060$394.70 MSRP: $588.81You Save: $194.11 (33%)Ships in 1-3 Business DaysToyota Solara Power Steering Gear Assembly(For Rack & Pinion)
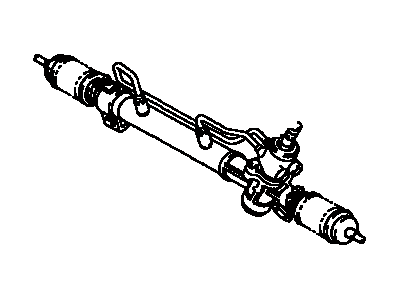
Part Number: 44250-06080$622.31 MSRP: $928.99You Save: $306.68 (34%)Ships in 1-3 Business Days
Toyota Solara Rack And Pinion
If you are in demand for superior quality and affordable OEM Toyota Solara Rack And Pinion, then shop with us! We own a wide range of the reduced-priced genuine Toyota Solara Rack And Pinion. You can purchase in confidence as all parts come with a manufacturer's warranty. Any issues with our products? No need to worry as we have a hassle-free return policy to guide you every step of the way.
Toyota Solara Rack And Pinion Parts Questions & Experts Answers
- Q: How to Remove and Install the Rack and Pinion Steering Gear on a 2002-2008 Toyota Solara?A:To remove the Rack And Pinion, park the vehicle with the front wheels straight, loosen the front wheel lug nuts, raise the front, and support it securely on jackstands. Apply the parking brake and remove the wheels, along with the engine under-covers if applicable. Place a drain pan under the Rack And Pinion, detach the power steering pressure and return lines using a crow's-foot wrench, and cap the ends to prevent fluid loss and contamination. Detach the tube-support bracket from the Rack And Pinion assembly, mark the relationship of the lower universal joint to the Rack And Pinion input shaft, and remove the lower intermediate shaft pinch bolt. Separate the tie-rod ends from the Steering Knuckle arms, remove the stabilizer bar end links and bushing retainer bolts, and then remove the Rack And Pinion mounting nuts. Lift the stabilizer bar to knock out the Rack And Pinion mounting bolts, and on V6 models, remove the Rack And Pinion heat shield. Separate the intermediate shaft from the Rack And Pinion input shaft and pull the Rack And Pinion assembly out from the right side, checking the Rack And Pinion mounting grommets for wear and replacing them if necessary. For installation, raise the Rack And Pinion into position, connect the U-joint while aligning the marks, install and tighten the mounting bolts and nuts, and connect the tie-rod ends to the steering knuckle arms. Install the U-joint pinch bolt and tighten it, connect the power steering pressure and return hoses, fill the power steering pump reservoir with the recommended fluid, and reattach the bracket to the Rack And Pinion assembly. Finally, install the stabilizer bar bushing retainer bolts, tighten them, lower the vehicle, and bleed the steering system.


