×
- Live Chat
- 1-888-905-9199


My Garage
My Account
Cart
Genuine Toyota Tacoma Differential
Front Differential- Select Vehicle by Model
- Select Vehicle by VIN
Select Vehicle by Model
orMake
Model
Year
Select Vehicle by VIN
For the most accurate results, select vehicle by your VIN (Vehicle Identification Number).
97 Differentials found
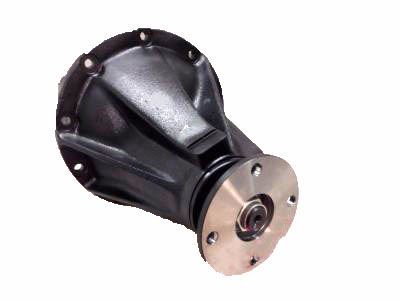
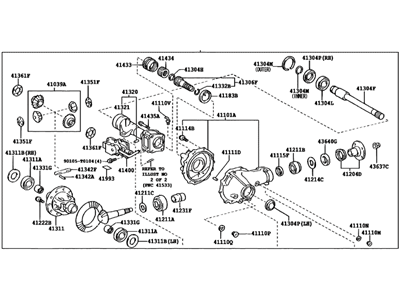
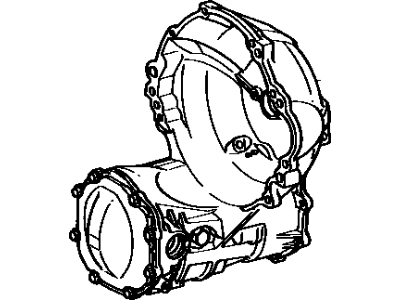
Toyota Tacoma Rear Differential Carrier Assembly
Part Number: 41110-35751$1652.84 MSRP: $2432.97You Save: $780.13 (33%)Ships in 1-3 Business DaysToyota Tacoma Rear Differential Carrier Assembly
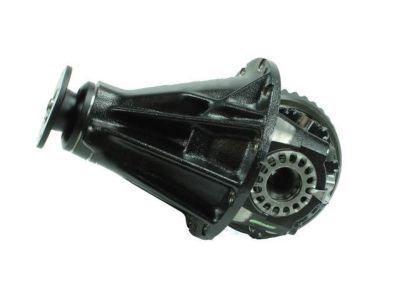
Part Number: 41110-35A50$1322.99 MSRP: $1947.44You Save: $624.45 (33%)Ships in 1-3 Business DaysToyota Tacoma Rear Differential Carrier Assembly
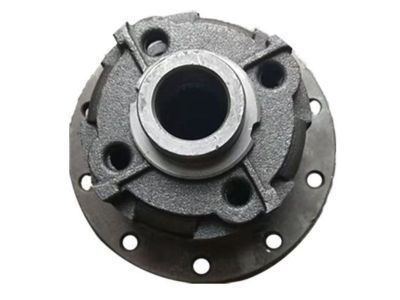
Part Number: 41110-35270$1363.56 MSRP: $2007.16You Save: $643.60 (33%)Ships in 1-3 Business DaysToyota Tacoma Rear Differential Case Sub-Assembly
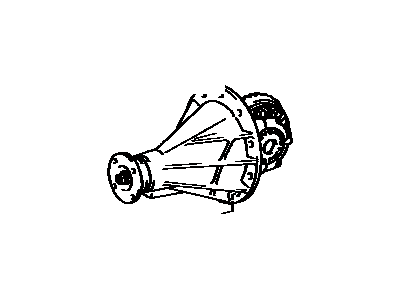
Part Number: 41301-60060$759.20 MSRP: $1117.54You Save: $358.34 (33%)Ships in 1-3 Business DaysToyota Tacoma Rear Differential Carrier Assembly
Part Number: 41110-35A51$1322.99 MSRP: $1947.44You Save: $624.45 (33%)Ships in 1-3 Business DaysToyota Tacoma Rear Differential Carrier Assembly
Part Number: 41110-35741$1652.84 MSRP: $2432.97You Save: $780.13 (33%)Ships in 1-2 Business DaysToyota Tacoma Rear Differential Carrier Assembly
Part Number: 41110-35A70$2416.49 MSRP: $3557.07You Save: $1140.58 (33%)Ships in 1-3 Business DaysToyota Tacoma Rear Differential Carrier Assembly
Part Number: 41110-0K600$1448.20 MSRP: $2131.74You Save: $683.54 (33%)Ships in 1-3 Business DaysToyota Tacoma Front Differential Carrier Assembly
Part Number: 41110-35A11$1746.29 MSRP: $2570.53You Save: $824.24 (33%)Ships in 1-3 Business DaysToyota Tacoma Rear Differential Carrier Assembly
Part Number: 41110-35B20$1957.94 MSRP: $2882.08You Save: $924.14 (33%)Ships in 1-3 Business DaysToyota Tacoma Rear Differential Carrier Assembly
Part Number: 41110-0K630$2060.76 MSRP: $3033.43You Save: $972.67 (33%)Ships in 1-3 Business DaysToyota Tacoma Rear Differential Carrier Assembly
Part Number: 41110-35A20$2434.23 MSRP: $3583.19You Save: $1148.96 (33%)Ships in 1-3 Business DaysToyota Tacoma Front Differential Carrier Assembly
Part Number: 41110-35A10$1746.29 MSRP: $2570.53You Save: $824.24 (33%)Ships in 1-3 Business DaysToyota Tacoma Front Differential Carrier Assembly
Part Number: 41110-35D70$1905.06 MSRP: $2804.24You Save: $899.18 (33%)Ships in 1-3 Business DaysToyota Tacoma Rear Differential Carrier Assembly
Part Number: 41110-0K650$2060.76 MSRP: $3033.43You Save: $972.67 (33%)Ships in 1-3 Business DaysToyota Tacoma Differential Carrier Assembly
Part Number: 41110-35D71$1905.06 MSRP: $2804.24You Save: $899.18 (33%)Ships in 1-3 Business DaysToyota Tacoma Front Differential Carrier Assembly
Part Number: 41110-34430$2081.45 MSRP: $3063.88You Save: $982.43 (33%)Ships in 1-3 Business DaysToyota Tacoma Rear Differential Carrier Assembly
Part Number: 41110-35750$1652.84 MSRP: $2432.97You Save: $780.13 (33%)Ships in 1-3 Business DaysToyota Tacoma Rear Differential Carrier Assembly
Part Number: 41110-04140$1309.81 MSRP: $1928.03You Save: $618.22 (33%)Toyota Tacoma Front Differential Carrier Assembly
Part Number: 41110-71141$1813.75 MSRP: $2669.83You Save: $856.08 (33%)
| Page 1 of 5 |Next >
1-20 of 97 Results
Toyota Tacoma Differential
If you are in demand for superior quality and affordable OEM Toyota Tacoma Differential, then shop with us! We own a wide range of the reduced-priced genuine Toyota Tacoma Differential. You can purchase in confidence as all parts come with a manufacturer's warranty. Any issues with our products? No need to worry as we have a hassle-free return policy to guide you every step of the way.
Toyota Tacoma Differential Parts Questions & Experts Answers
- Q: How to remove and install the Automatic disconnect Differential (ADD) and its actuator on 2005 through 2009 Toyota Tacoma?A: The ADD connects and disconnects the power flow through the dipstick, namely the right front axleshaft when the 4WD mode is engage and disconnects them when the 2WD mode is engaged. In case the transition to or from 4WD causes problems, it is recommended that the ADD system be taken for assessment to a competent mechanic familiar with 4WD cars. To demodulate the differential carrier, loosen the wheel lug nuts, lift the vehicle and secure on jack stands and then, remove the wheels. Next, two splash shields should be dismantled along with the differential lubricant; finally, please remove two more splash shields and drain lubricant from the differential. Continue to the removal of the driveaxles, to separate the driveshaft from the front differential, Suspension of front part of the driveshaft with a piece of wire. Loosen the front stabilizer bar and brackets, then the ABS wheel speed sensors will also have to be detached. Remove the breather tube bracket, remove the nuts/screws holding the vacuum tubing bracket to the differential, disconnect the electrical connector of the actuator and pull off the vacuum lines from it. If you are changing the differential, place help under it using a transmission jack or a floor jack and then remove the differential rear mounting nut and the two front mounting bolts/nuts to lift up the differential. The process of installation is the exact opposite of the removal procedure, and again, be sure to refill the differential with the recommended lubricant and ensure the lugnuts and suspension fasteners are tightened to the manufacturer's torque spec. For the ADD actuator, take the car off the ground using jackstand, then reinstall the splash shield and push in the four bolts until the actuator can be pulled/off. ALl these and other surfaces in contact with the differential and actuator must be clean and as a final step to the installation processes, a 'thin bead of new RTV sealant should be applied on the mating surfaces of the two before tightening the bolts in an opposite sequence to the one applied while unbolting the old actuator from the differential.
Related Toyota Tacoma Parts
Browse by Year
2025 Differential 2024 Differential 2023 Differential 2022 Differential 2021 Differential 2020 Differential 2019 Differential 2018 Differential 2017 Differential 2016 Differential 2015 Differential 2014 Differential 2013 Differential 2012 Differential 2011 Differential 2010 Differential 2009 Differential 2008 Differential 2007 Differential 2006 Differential 2005 Differential 2004 Differential 2003 Differential 2002 Differential 2001 Differential 2000 Differential 1999 Differential 1998 Differential 1997 Differential 1996 Differential 1995 Differential

