×
- Live Chat
- 1-888-905-9199


My Garage
My Account
Cart
Genuine Toyota Tacoma Universal Joint
U-Joint- Select Vehicle by Model
- Select Vehicle by VIN
Select Vehicle by Model
orMake
Model
Year
Select Vehicle by VIN
For the most accurate results, select vehicle by your VIN (Vehicle Identification Number).
21 Universal Joints found
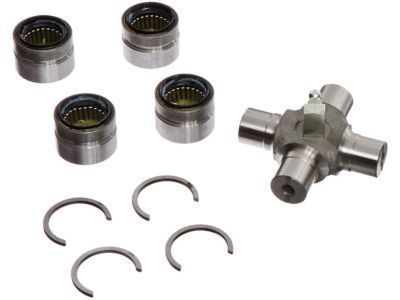
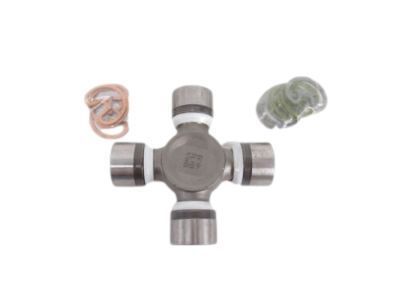
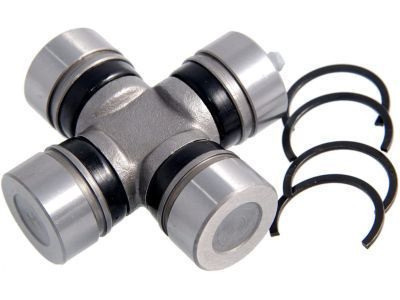
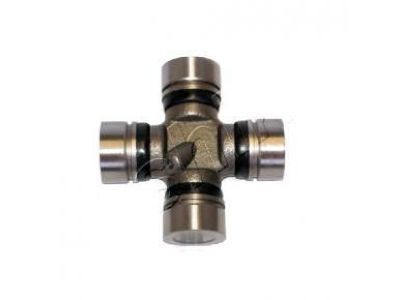
Toyota Tacoma Spider Kit, Universal Joint
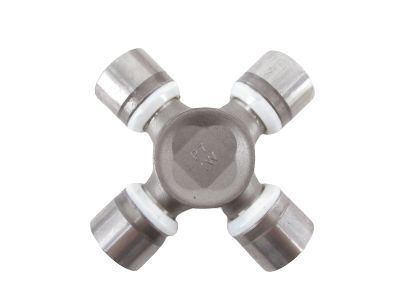
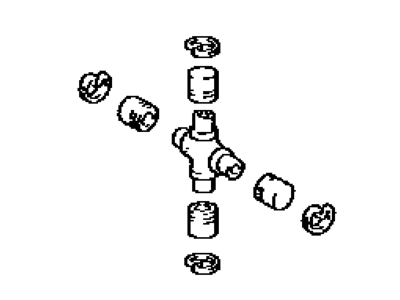
Part Number: 04371-60070$57.06 MSRP: $79.76You Save: $22.70 (29%)Toyota Tacoma Spider Kit, UNIVERSA
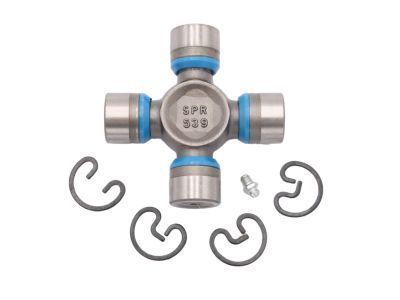
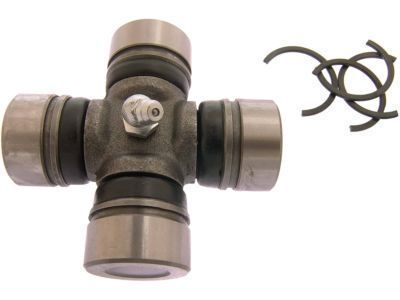
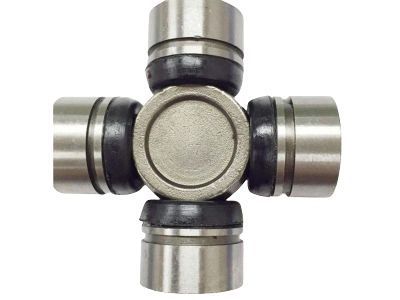
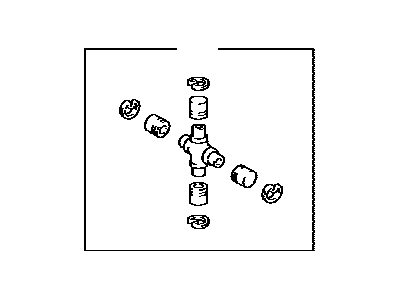
Part Number: 04371-04031$60.46 MSRP: $85.23You Save: $24.77 (30%)Ships in 1-3 Business DaysToyota Tacoma Spider Kit, Universal Joint
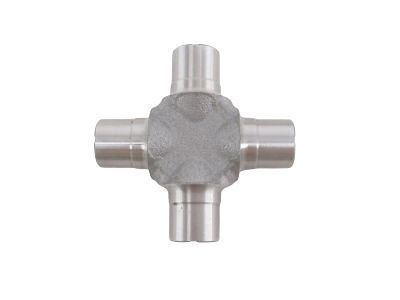
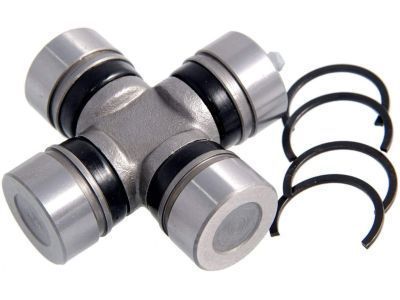
Part Number: 04371-0K080$60.46 MSRP: $85.23You Save: $24.77 (30%)Ships in 1-2 Business DaysToyota Tacoma Spider Kit, Rear Propeller Shaft Universal Joint
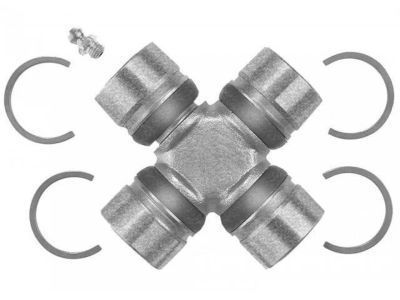
Part Number: 04371-60100$56.24 MSRP: $78.60You Save: $22.36 (29%)Ships in 1-2 Business DaysToyota Tacoma Spider Kit, Universal Joint
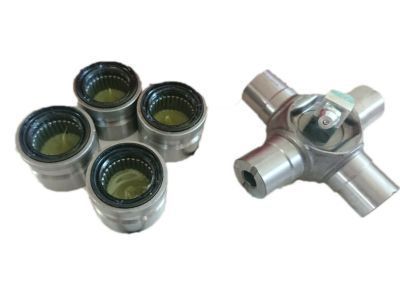
Part Number: 04371-04030$60.46 MSRP: $85.23You Save: $24.77 (30%)Ships in 1-3 Business DaysToyota Tacoma Bearing Kit, UNIVERS
Part Number: 04371-35031$57.06 MSRP: $79.76You Save: $22.70 (29%)Ships in 1-3 Business DaysToyota Tacoma Spider Kit, Universal Joint
Part Number: 04371-35050$57.06 MSRP: $79.76You Save: $22.70 (29%)Ships in 1-3 Business DaysToyota Tacoma Spider Kit, UNIVERSA
Part Number: 04371-04043$56.24 MSRP: $78.60You Save: $22.36 (29%)Ships in 1 Business DayToyota Tacoma Spider Kit,UNIVALSAL
Part Number: 04371-04020$72.94 MSRP: $102.82You Save: $29.88 (30%)Ships in 1-3 Business DaysToyota Tacoma Spider Kit, Universal Joint
Part Number: 04371-35051$57.06 MSRP: $79.76You Save: $22.70 (29%)Ships in 1-2 Business DaysToyota Tacoma Spider Kit, Universal Joint
Part Number: 04371-30040$56.24 MSRP: $78.60You Save: $22.36 (29%)Ships in 1-3 Business DaysToyota Tacoma Bearing Kit, UNIVERS
Part Number: 04371-30021$56.24 MSRP: $78.60You Save: $22.36 (29%)Ships in 1-3 Business DaysToyota Tacoma Spider Kit, Universal Joint
Part Number: 04371-30041$56.24 MSRP: $78.60You Save: $22.36 (29%)Ships in 1-3 Business DaysToyota Tacoma Bearing Kit, UNIVERS
Part Number: 04371-35040$57.06 MSRP: $79.76You Save: $22.70 (29%)Ships in 1 Business DayToyota Tacoma Spider Kit, UNIVERSA
Part Number: 04371-04044$56.24 MSRP: $78.60You Save: $22.36 (29%)Ships in 1-2 Business DaysToyota Tacoma Spider Kit, UNIVERSA
Part Number: 04371-0K070$66.46 MSRP: $93.68You Save: $27.22 (30%)Ships in 1-2 Business DaysToyota Tacoma Spider Kit, UNIVERSA
Part Number: 04371-04101$60.46 MSRP: $85.23You Save: $24.77 (30%)Ships in 1-3 Business DaysToyota Tacoma Spider Kit, UNIVERSA
Part Number: 04371-04100$60.46 MSRP: $85.23You Save: $24.77 (30%)Ships in 1-3 Business DaysToyota Tacoma Spider Kit, UNIVERSA
Part Number: 04371-04090$66.46 MSRP: $93.68You Save: $27.22 (30%)Ships in 1-3 Business DaysToyota Tacoma SPIDER KIT, UNIVERSA
Part Number: 04371-04130$51.79 MSRP: $72.40You Save: $20.61 (29%)Ships in 1-2 Business Days
| Page 1 of 2 |Next >
1-20 of 21 Results
Toyota Tacoma Universal Joint
If you are in demand for superior quality and affordable OEM Toyota Tacoma Universal Joint, then shop with us! We own a wide range of the reduced-priced genuine Toyota Tacoma Universal Joint. You can purchase in confidence as all parts come with a manufacturer's warranty. Any issues with our products? No need to worry as we have a hassle-free return policy to guide you every step of the way.
Toyota Tacoma Universal Joint Parts Questions & Experts Answers
- Q: How to replace a U-joint in a driveshaft on 2005 through 2009 Toyota Tacoma?A: For this operation only a press or a large vise will be needed, though it might be wiser to have the driveshaft in a repair or machine shop for U-joint replacement at a rather small cost. Start with the isolation of the driveshaft and placing of the same on a bench fitted with a vice. Before disassembling the shaft and yoke, make certain that they will be reassembled in the correct position, then pull out snap-rings on the U-joint with the simple tips of the pliers. To remove the U-joint, one has to fit one end of a piece of pipe or a large socket over one bearing cup while using the other end of the same tool and the vise to press on the other cup till the lip of the bearing remains just inside the yoke. You may use the vise or the large pliers to bring out the cup fully, or push it form off the sockets, then move the sockets to the other side and press the other bearing cup off in similar manner. Looking at the second method used in removing the bearing cups, after pulling off the bearing cups, lift the U-joint from the yoke, and clean all the dirt and the debris from the yokes on the both ends of the driveshaft it is also advisable to remove any metal burrs from the yoke bores. It is necessary to pack the new U-joint bearing cups with the grease to retain the needle bearings in position as prescribed during construction, in additional when using the service kit there may be some special conditions regarding application of the grease. Place the U-joint body between the yoke and screw one bearing cup partially in position so as the grease fitting direction from the cup you are fitting matches that of the corresponding one on the other end of the driveshaft. Begin to insert the U-joint body into the bearing cups partially and seat the other cup, coming in between the U-joint body and the installed bearing cups by gently pushing until positioning the dust seals without compromising them. Insert the snap-rings, and in case the snap-rings cannot locate themselves into the groove due to the yoke ears squashing them towards the driveshaft, then tapping the driveshaft yoke gently with the hammer to spring out the yoke ears and allow the snap-rings to set on the groove and help in centering the U-joint on the outputs after assembling. To summarize the procedure for sealing the snap-rings try the following: When the sealing of the snap rings is still complicated, it is advised that one checks the joints for the needles bearings that are stuck. Last, the driveshaft should be re-installed then the appropriate grease fitting if offered should be lubricated, link the jack stands and the car should be lowered.
Related Toyota Tacoma Parts
Browse by Year
2025 Universal Joint 2024 Universal Joint 2023 Universal Joint 2022 Universal Joint 2021 Universal Joint 2020 Universal Joint 2019 Universal Joint 2018 Universal Joint 2017 Universal Joint 2016 Universal Joint 2015 Universal Joint 2014 Universal Joint 2013 Universal Joint 2012 Universal Joint 2011 Universal Joint 2010 Universal Joint 2009 Universal Joint 2008 Universal Joint 2007 Universal Joint 2006 Universal Joint 2005 Universal Joint 2004 Universal Joint 2003 Universal Joint 2002 Universal Joint 2001 Universal Joint 2000 Universal Joint 1999 Universal Joint 1998 Universal Joint 1997 Universal Joint 1996 Universal Joint 1995 Universal Joint
