
My Garage
My Account
Cart
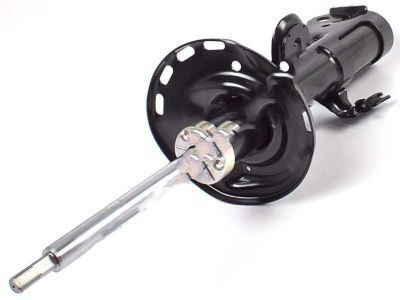
Genuine Toyota Prius Shock Absorber
Suspension Shock Absorber- Select Vehicle by Model
- Select Vehicle by VIN
Select Vehicle by Model
orMake
Model
Year
Select Vehicle by VIN
For the most accurate results, select vehicle by your VIN (Vehicle Identification Number).
78 Shock Absorbers found
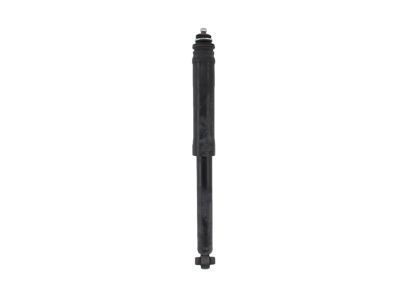
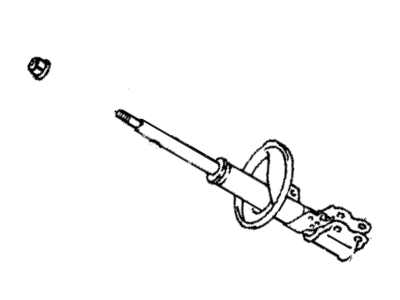
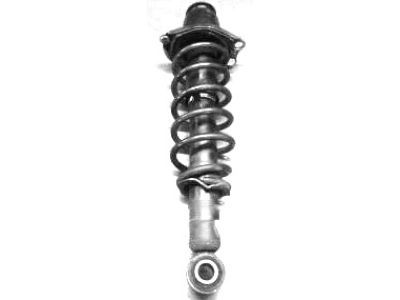
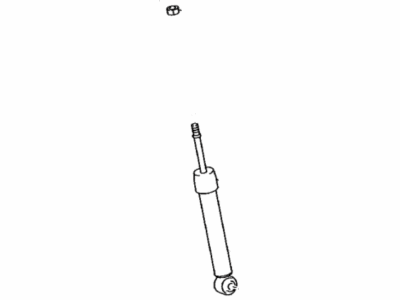
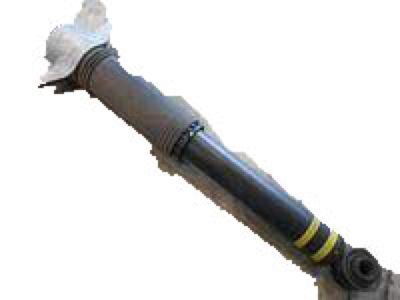
Toyota Prius Shock Absorber Assembly Rear Left
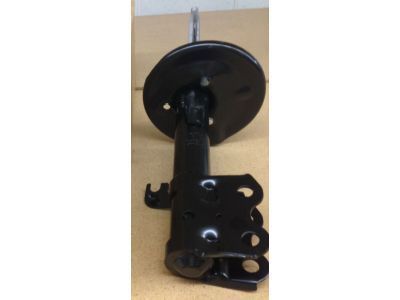
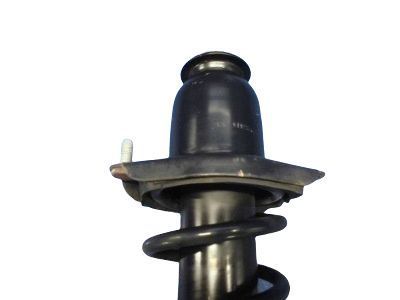
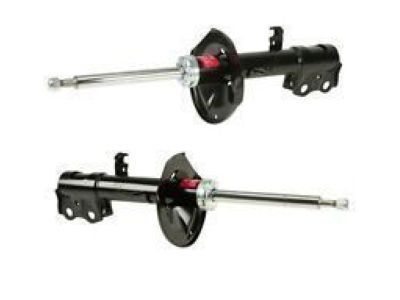
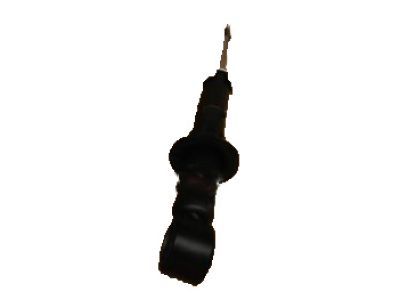
Part Number: 48530-80533$50.68 MSRP: $70.84You Save: $20.16 (29%)Ships in 1-2 Business DaysToyota Prius Shock Absorber Assembly Front Right
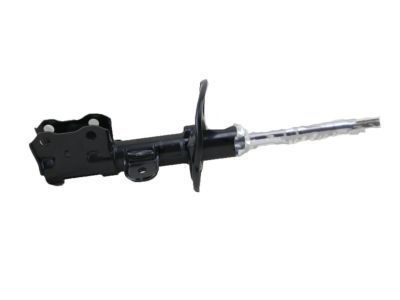
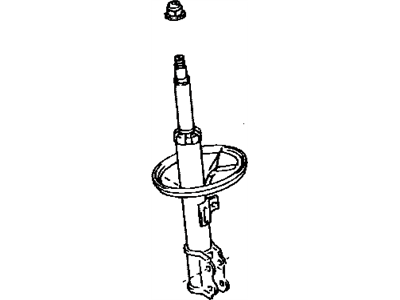
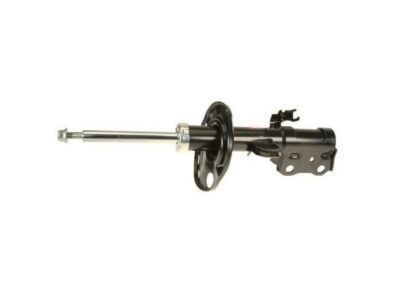
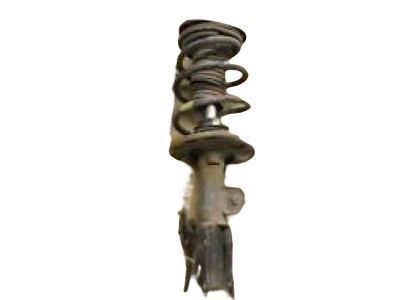
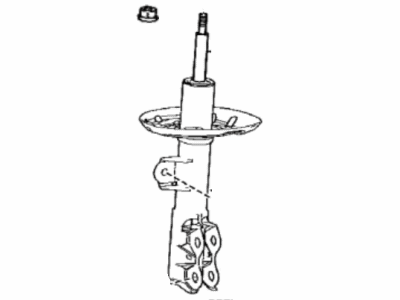
Part Number: 48510-80542$108.90 MSRP: $153.51You Save: $44.61 (30%)Ships in 1 Business DayToyota Prius Shock Absorber Assembly Front Left
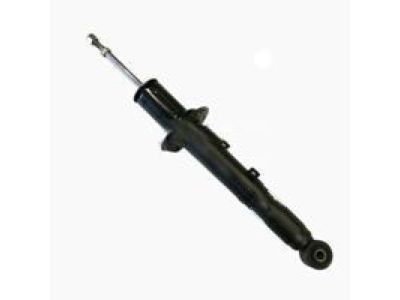
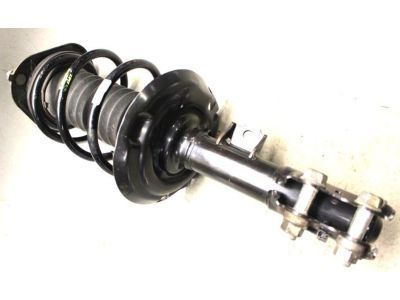
Part Number: 48520-80265$107.60 MSRP: $151.68You Save: $44.08 (30%)Ships in 1 Business DayToyota Prius Shock Absorber Assembly Front Left
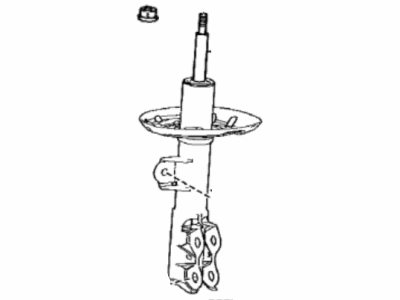
Part Number: 48520-80064$123.54 MSRP: $175.64You Save: $52.10 (30%)Ships in 1-3 Business DaysToyota Prius Shock Absorber Assembly Front Right
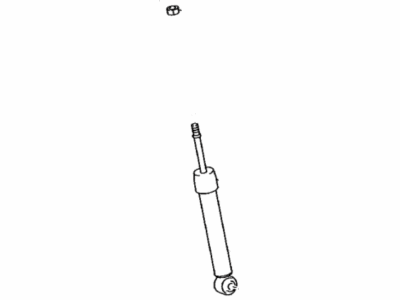
Part Number: 48510-80274$128.92 MSRP: $183.28You Save: $54.36 (30%)Ships in 1-3 Business DaysToyota Prius Shock Absorber Assembly Rear Left
Part Number: 48530-80636$55.80 MSRP: $78.00You Save: $22.20 (29%)Ships in 1-3 Business DaysToyota Prius Shock Absorber Assembly Rear Right
Part Number: 48530-49735$100.64 MSRP: $141.87You Save: $41.23 (30%)Ships in 1-2 Business DaysToyota Prius Shock Absorber Assembly Front Right
Part Number: 48510-80573$120.26 MSRP: $170.98You Save: $50.72 (30%)Ships in 1-3 Business DaysToyota Prius Shock Absorber Assembly Front Left
Part Number: 48520-80293$120.26 MSRP: $170.98You Save: $50.72 (30%)Ships in 1-3 Business DaysToyota Prius Shock Absorber Assembly Rear Left
Part Number: 48530-80789$50.92 MSRP: $71.18You Save: $20.26 (29%)Ships in 1-3 Business DaysToyota Prius Shock Absorber Assembly Rear Right
Part Number: 48530-49715$68.07 MSRP: $95.96You Save: $27.89 (30%)Ships in 1 Business DayToyota Prius Shock Absorber Assembly Front Right
Part Number: 48510-80488$108.90 MSRP: $153.51You Save: $44.61 (30%)Ships in 1-3 Business DaysToyota Prius Shock Absorber Assembly Front Right
Part Number: 48510-80814$118.63 MSRP: $168.65You Save: $50.02 (30%)Ships in 1-3 Business DaysToyota Prius Shock Absorber Assembly Rear Right
Part Number: 48530-80788$51.87 MSRP: $72.51You Save: $20.64 (29%)Ships in 1-3 Business DaysToyota Prius Shock Absorber Assembly Rear Left
Part Number: 48530-80696$50.92 MSRP: $71.18You Save: $20.26 (29%)Ships in 1-3 Business DaysToyota Prius Shock Absorber Assembly Front Right
Part Number: 48510-80666$112.44 MSRP: $158.50You Save: $46.06 (30%)Ships in 1-3 Business DaysToyota Prius Shock Absorber Assembly Front Left
Part Number: 48520-80367$117.99 MSRP: $166.32You Save: $48.33 (30%)Ships in 1-3 Business DaysToyota Prius Shock Absorber Assembly Front Left
Part Number: 48520-80492$118.63 MSRP: $168.65You Save: $50.02 (30%)Ships in 1-3 Business DaysToyota Prius Shock Absorber Assembly Rear Left
Part Number: 48530-80534$50.68 MSRP: $70.84You Save: $20.16 (29%)Ships in 1-3 Business DaysToyota Prius Shock Absorber Assembly Front Left
Part Number: 48520-80368$109.49 MSRP: $154.35You Save: $44.86 (30%)Ships in 1-3 Business Days
| Page 1 of 4 |Next >
1-20 of 78 Results
Toyota Prius Shock Absorber
If you are in demand for superior quality and affordable OEM Toyota Prius Shock Absorber, then shop with us! We own a wide range of the reduced-priced genuine Toyota Prius Shock Absorber. You can purchase in confidence as all parts come with a manufacturer's warranty. Any issues with our products? No need to worry as we have a hassle-free return policy to guide you every step of the way.
Toyota Prius Shock Absorber Parts Questions & Experts Answers
- Q: Should Coil Springs/Shock Absorber Assemblies Be Replaced in Pairs on Toyota Prius?A:Shock absorber and coil spring assemblies should only be replaced in pairs. For 2009 and earlier models, begin by removing the safety plug from the high-voltage battery, then raise the rear of the vehicle and support it securely on jackstands before removing the rear wheels. For 2003 and earlier models, remove the rear seat, disconnect the speed sensor wire if it interferes, support the rear axle with jacks, and remove the upper fasteners and lower mounts of the shock absorber. For 2004 through 2009 models, remove the rear seat back framework and right side trim panel, unclip the battery cooling duct, and remove the high-voltage battery reinforcement to access the shock upper mounting fasteners. Support the rear axle with a jack, remove the upper fasteners, and guide the shocks out. Follow inspection procedures to determine if the shock absorber assembly needs disassembly for replacement. For installation, maneuver the assembly into place, install the lower mount, raise the axle beam to simulate normal ride height, and tighten all fasteners before reinstalling the wheels and lowering the vehicle. For 2010 and later models, remove the rear floorboard and storage box, sill plate, tonneau cover holder caps, armrest side panels, and luggage tie-down assemblies, then raise the vehicle and support it securely on jackstands. Detach the ride height sensor if applicable, compress the coil spring, and remove the shock absorber components. Follow inspection procedures and replace shocks in pairs. For coil springs, raise the vehicle, disconnect the speed sensor wiring, detach height control sensors if applicable, and access the axle beam pivot bolts. Compress the shock absorbers, remove the bolts, and lower the axle beam to remove the coil springs. Installation is the reverse of removal, ensuring not to tighten the axle beam pivot bolts until the vehicle's weight is on the wheels, followed by bouncing the rear and tightening all fasteners.
Related Toyota Prius Parts
Browse by Year
2024 Shock Absorber 2023 Shock Absorber 2022 Shock Absorber 2021 Shock Absorber 2020 Shock Absorber 2019 Shock Absorber 2018 Shock Absorber 2017 Shock Absorber 2016 Shock Absorber 2015 Shock Absorber 2014 Shock Absorber 2013 Shock Absorber 2012 Shock Absorber 2011 Shock Absorber 2010 Shock Absorber 2009 Shock Absorber 2008 Shock Absorber 2007 Shock Absorber 2006 Shock Absorber 2005 Shock Absorber 2004 Shock Absorber 2003 Shock Absorber 2002 Shock Absorber 2001 Shock Absorber
