×
- Live Chat
- 1-888-905-9199


My Garage
My Account
Cart
Genuine Toyota Solara A/C Condenser
Air Conditioning Condenser- Select Vehicle by Model
- Select Vehicle by VIN
Select Vehicle by Model
orMake
Model
Year
Select Vehicle by VIN
For the most accurate results, select vehicle by your VIN (Vehicle Identification Number).
2 A/C Condensers found
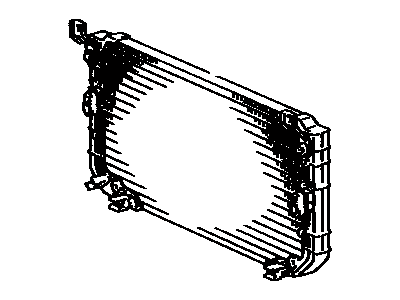
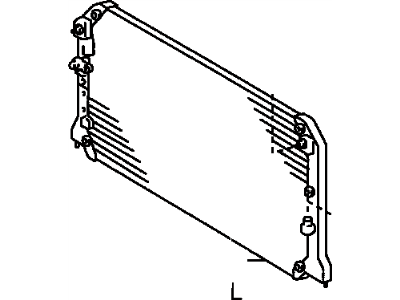
Toyota Solara Condenser Assy, Cooler
Part Number: 88460-06140$281.24 MSRP: $403.28You Save: $122.04 (31%)Ships in 1-3 Business DaysToyota Solara Condenser Assy, Cooler
Part Number: 88460-06050$312.97 MSRP: $448.77You Save: $135.80 (31%)Ships in 1-3 Business Days
Toyota Solara A/C Condenser
The A/C Condenser to Toyota Solara vehicles works mainly like a heat exchanger and is an integral part of the air conditioning system of the car. Its principle function is to cool the gaseous refrigerant and change it into a liquid state before it proceeds to the next phase of going to the accumulator. Usual types include the A/C Condenser; this is made of a number of tubes and is regularly mounted just behind the radiator for adequate air flow. Although such an overview does not record any distinctions of the types or styles of A/C Condensers fitted in the various Solara models, its constituent design is uniform across the series of models. The presence of the A/C Condenser is very crucial in providing the comfort of the cabin as well as the efficiency of the air conditioning system.
If you are in demand for superior quality and affordable OEM Toyota Solara A/C Condenser, then shop with us! We own a wide range of the reduced-priced genuine Toyota Solara A/C Condenser. You can purchase in confidence as all parts come with a manufacturer's warranty. Any issues with our products? No need to worry as we have a hassle-free return policy to guide you every step of the way.
Toyota Solara A/C Condenser Parts Questions & Experts Answers
- Q: How to remove and install a condenser on 2002 through 2008 Toyota Solara?A: Have the refrigerant discharged by an air conditioning technician. Remove the radiator upper mounts. On models with a separately mounted receiver/drier, remove the receiver/drier. Disconnect the inlet and outlet fittings. Remove the bolts holding the refrigerant lines to the right side of the condenser on some models, the line is clamped to the side of the condenser as well. Cap the open fittings immediately to keep moisture and dirt out of the system. Remove the mounting nuts/bolts. Remove the mounting bolt and nut at the condenser bracket on each side. Push the radiator back toward the engine, then push the condenser rearward until it is free of the radiator support and can be pulled up and out of the vehicle. Install the condenser, brackets, and bolts, making sure the rubber cushions fit on the mounting points properly. Reconnect the refrigerant lines, using new O-rings where needed. Reinstall the remaining parts in the reverse order of removal.
- Q: How do you remove and install the condenser on 1997 through 2001 Toyota Solara?A: To remove the A/C Condenser, start by discharging the refrigerant and removing the radiator upper mounts. Unbolt and set aside the right-hand underhood electrical relay box for clearance. Then, remove the A/C Accumulator and disconnect the inlet and outlet fittings, making sure to cap the open fittings immediately to prevent moisture and dirt from entering the system. Finally, remove the mounting nuts and push the radiator back toward the engine, followed by pushing the condenser rearward until it's free of the radiator support and can be pulled up and out of the vehicle. To install the condenser, brackets, and bolts, ensure that the rubber cushions fit properly on the mounting points. Reconnect the refrigerant lines, using new O-rings where necessary. Lastly, reinstall the remaining parts in the reverse order of removal and have the system evacuated, charged, and leak tested.


