×
- Live Chat
- 1-888-905-9199


My Garage
My Account
Cart
Genuine Toyota Camry Variable Timing Sprocket
Timing Gear Sprocket- Select Vehicle by Model
- Select Vehicle by VIN
Select Vehicle by Model
orMake
Model
Year
Select Vehicle by VIN
For the most accurate results, select vehicle by your VIN (Vehicle Identification Number).
51 Variable Timing Sprockets found
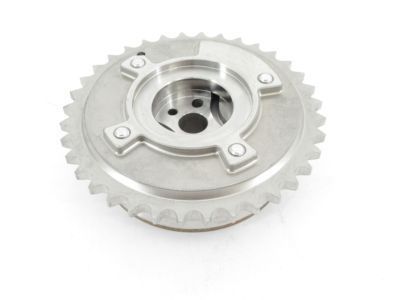
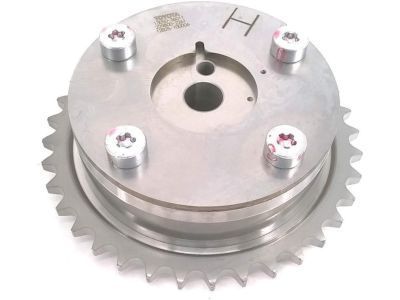
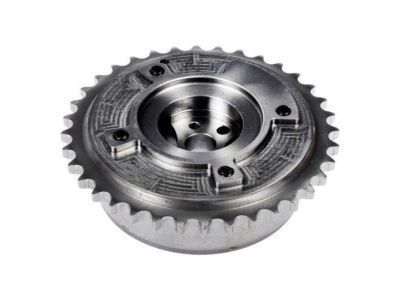
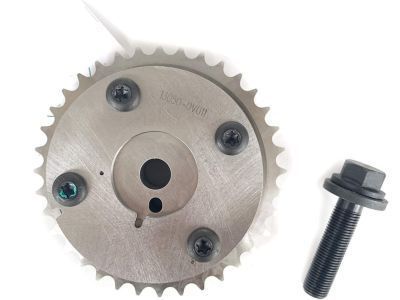
Toyota Camry Gear Assembly, CAMSHAFT
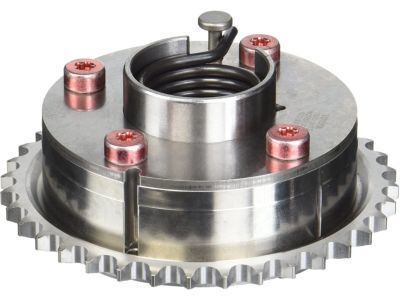
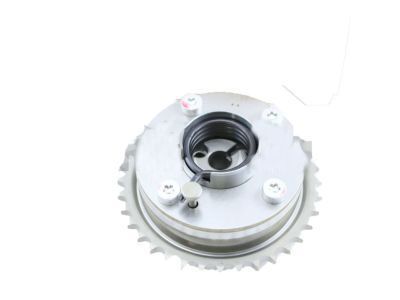
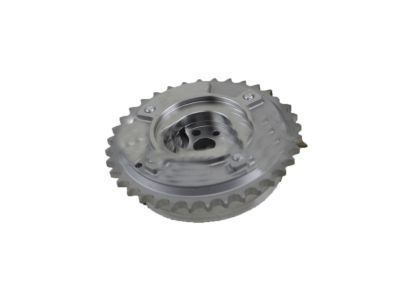
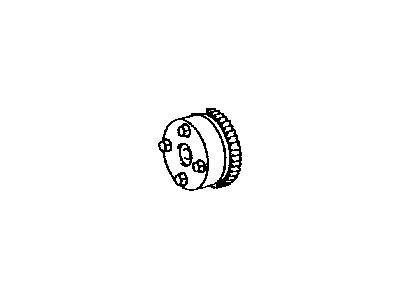
Part Number: 13050-0V011$324.06 MSRP: $464.68You Save: $140.62 (31%)Toyota Camry Gear Assembly, CAMSHAFT
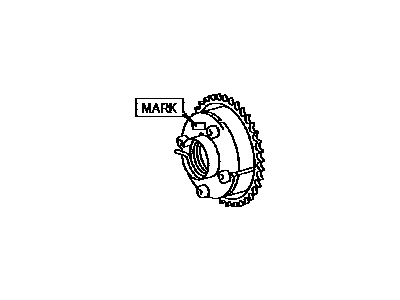
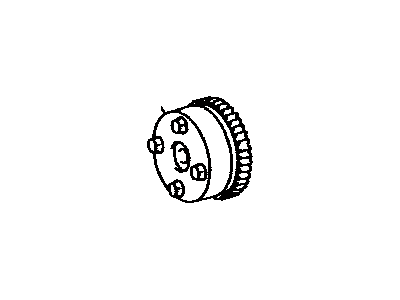
Part Number: 13070-0V013$347.68 MSRP: $498.54You Save: $150.86 (31%)Toyota Camry Gear Assy, Camshaft Timing Exhaust, LH
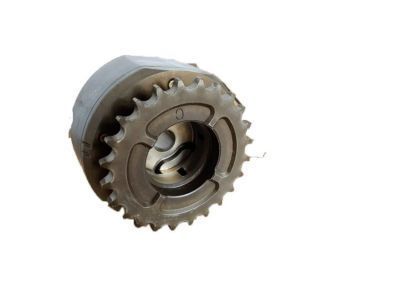
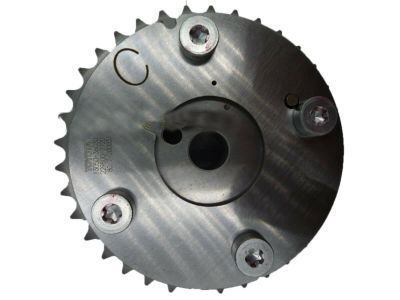
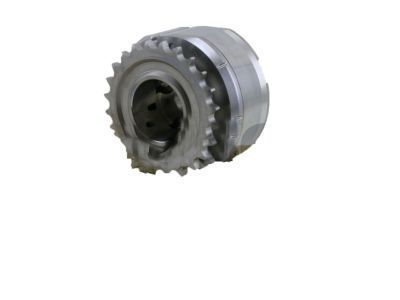
Part Number: 13080-31030$316.55 MSRP: $453.91You Save: $137.36 (31%)Ships in 1-3 Business DaysToyota Camry Gear Or Sprocket, Camshaft Timing
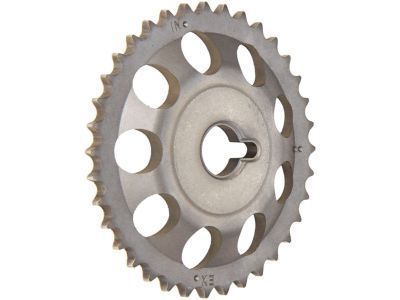
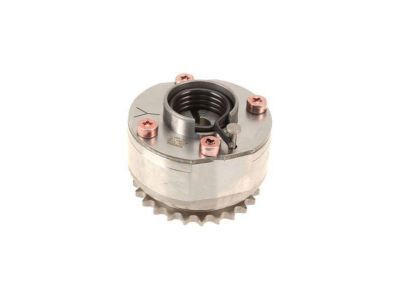
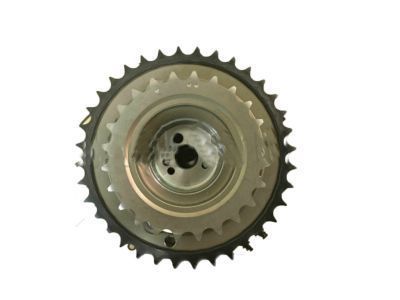
Part Number: 13523-0D010$43.63 MSRP: $60.98You Save: $17.35 (29%)Ships in 1-2 Business DaysToyota Camry Gear Assembly, CAMSHAFT
Part Number: 13050-36011$324.06 MSRP: $464.68You Save: $140.62 (31%)Toyota Camry Gear Assy, Camshaft Timing
Part Number: 13050-28021$259.24 MSRP: $371.72You Save: $112.48 (31%)Ships in 1 Business DayToyota Camry Gear Assembly, CAMSHAFT
Part Number: 13050-36030$259.24 MSRP: $371.72You Save: $112.48 (31%)Toyota Camry Gear Or Sprocket, Camshaft Timing
Part Number: 13523-22020$43.63 MSRP: $60.98You Save: $17.35 (29%)Ships in 1-2 Business DaysToyota Camry Gear Assembly, CAMSHAFT
Part Number: 13080-0P040$315.29 MSRP: $452.10You Save: $136.81 (31%)Ships in 1-3 Business DaysToyota Camry Gear Assembly, CAMSHAFT
Part Number: 13050-36010$324.06 MSRP: $464.68You Save: $140.62 (31%)Toyota Camry Gear Assembly, CAMSHAFT
Part Number: 13070-36011$347.68 MSRP: $498.54You Save: $150.86 (31%)Ships in 1-2 Business DaysToyota Camry Gear Assembly, CAMSHAFT
Part Number: 13080-31050$315.29 MSRP: $452.10You Save: $136.81 (31%)Ships in 1 Business DayToyota Camry Gear Assembly, CAMSHAFT
Part Number: 13050-31170$280.51 MSRP: $402.23You Save: $121.72 (31%)Toyota Camry Gear Assembly, CAMSHAFT
Part Number: 13050-0V010$324.06 MSRP: $464.68You Save: $140.62 (31%)Ships in 1-3 Business DaysToyota Camry Gear Assembly, CAMSHAFT
Part Number: 13070-36030$315.29 MSRP: $452.10You Save: $136.81 (31%)Ships in 1-3 Business DaysToyota Camry Gear Assembly, CAMSHAFT
Part Number: 13070-0P011$378.14 MSRP: $556.62You Save: $178.48 (33%)Ships in 1-2 Business DaysToyota Camry Gear Assembly, CAMSHAFT
Part Number: 13050-0P081$280.51 MSRP: $402.23You Save: $121.72 (31%)Ships in 1-2 Business DaysToyota Camry Gear Assy, Camshaft Timing
Part Number: 13050-20011$341.98 MSRP: $503.40You Save: $161.42 (33%)Ships in 1 Business DayToyota Camry Gear Assembly, CAMSHAFT
Part Number: 13070-0V040$315.29 MSRP: $452.10You Save: $136.81 (31%)Toyota Camry Gear Assembly, CAMSHAFT
Part Number: 13050-0P071$280.51 MSRP: $402.23You Save: $121.72 (31%)
| Page 1 of 3 |Next >
1-20 of 51 Results
Toyota Camry Variable Timing Sprocket
If you are in demand for superior quality and affordable OEM Toyota Camry Variable Timing Sprocket, then shop with us! We own a wide range of the reduced-priced genuine Toyota Camry Variable Timing Sprocket. You can purchase in confidence as all parts come with a manufacturer's warranty. Any issues with our products? No need to worry as we have a hassle-free return policy to guide you every step of the way.
Toyota Camry Variable Timing Sprocket Parts Questions & Experts Answers
- Q: How to remove the Timing Chain and Sprocket on V6 engine on Toyota Camry?A: Caution should be exercised during the removal process of the timing system, as any mistakes can lead to severe engine damage. It's advisable not to attempt this procedure without substantial experience in such repairs; consult an expert if uncertain. To initiate the removal, it's recommended to remove the engine/transaxle assembly and the drivebelt, including the drive-belt tensioner and idler pulleys. Set the engine to TDC and remove the crankshaft pulley with care to prevent any damage. Proceed to remove the timing chain cover bolts and the water inlet, along with its O-ring and gasket. Afterward, detach the timing chain cover, ensuring caution in specific removal spots to prevent cover damage. Remove the old Crankshaft Seal meticulously. Verify the No. 1 piston's position, setting it near TDC on its compression stroke. Ensure alignment of the timing marks on camshaft timing sprockets and the crankshaft sprocket. Following this, manipulate the No. 1 tensioner to lock it and remove it, subsequently removing the chain tensioner slipper. Proceed to remove the idler sprocket shaft and the chain vibration dampers. Take note of the timing marks on each sprocket before removing the No. 1 timing chain and the crankshaft timing chain sprocket. On the right (rear) cylinder head, compress chain tensioner No. 2 and insert a drill bit or punch to lock it. Remove the camshaft timing sprockets and chain assembly, ensuring components are kept separate. Repeat the process for timing chain No. 3 on the left (front) cylinder head. Inspect all timing chain assembly parts for wear or damage, checking the chains for stretch and sprockets for appropriate diameter. Measure idler sprocket oil clearance and evaluate the condition of tensioners and vibration dampers. Ensure correct operation of the chain tensioners. During installation, lock chain tensioner No. 2 with a drill or punch, then proceed to install the tensioners, followed by the timing chains on the camshaft sprockets. Align yellow marking links and timing marks as specified. Install chain guides, the crankshaft timing sprocket, and the idler sprocket collar. Verify alignment of timing marks on camshaft sprockets. Install the No. 1 timing chain, ensuring proper alignment of marks, and lock the No. 1 tensioner with a drill or punch. Remove the drill or punch and confirm tension. Clean surfaces, install a new crankshaft oil seal, O-ring, and apply RTV sealant on the timing chain cover. Slide the cover into place, reinstalling all bolts sequentially and ensuring proper torque. Finally, follow the reverse procedure for the remaining installation steps, refilling fluids, reconnecting the battery, and checking for leaks upon starting the engine.
- Q: How to remove the Timing Chain and Sprocket on Four cylinder engine on Toyota Camry?A: First of all, on 2010 and later models, remove the engine and transaxle, it also involves the disassembly, removal, and alignment of parts such as camshaft sprockets and the timing chain cover. Also, it requires positioning of the number one piston at TDC on the compression stroke, checking timing marks, and extensive removal of parts, including the Crankshaft Pulley/vibration damper.
Related Toyota Camry Parts
Browse by Year
2024 Variable Timing Sprocket 2023 Variable Timing Sprocket 2022 Variable Timing Sprocket 2021 Variable Timing Sprocket 2020 Variable Timing Sprocket 2019 Variable Timing Sprocket 2018 Variable Timing Sprocket 2017 Variable Timing Sprocket 2016 Variable Timing Sprocket 2015 Variable Timing Sprocket 2014 Variable Timing Sprocket 2013 Variable Timing Sprocket 2012 Variable Timing Sprocket 2011 Variable Timing Sprocket 2010 Variable Timing Sprocket 2009 Variable Timing Sprocket 2008 Variable Timing Sprocket 2007 Variable Timing Sprocket 2006 Variable Timing Sprocket 2005 Variable Timing Sprocket 2004 Variable Timing Sprocket 2003 Variable Timing Sprocket 2002 Variable Timing Sprocket 2001 Variable Timing Sprocket 2000 Variable Timing Sprocket 1999 Variable Timing Sprocket 1998 Variable Timing Sprocket 1997 Variable Timing Sprocket 1996 Variable Timing Sprocket 1995 Variable Timing Sprocket 1994 Variable Timing Sprocket 1993 Variable Timing Sprocket 1992 Variable Timing Sprocket 1991 Variable Timing Sprocket 1990 Variable Timing Sprocket 1989 Variable Timing Sprocket 1988 Variable Timing Sprocket 1987 Variable Timing Sprocket
