×
- Live Chat
- 1-888-905-9199


My Garage
My Account
Cart
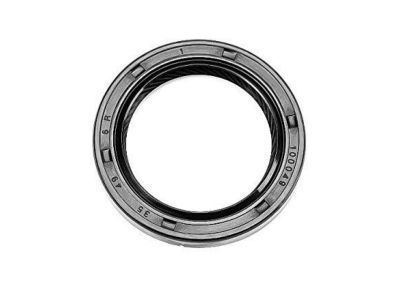
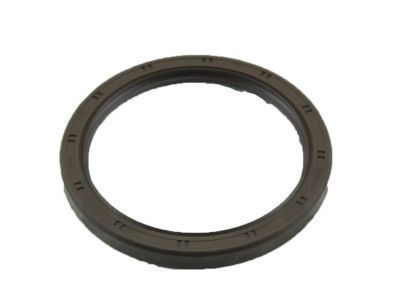
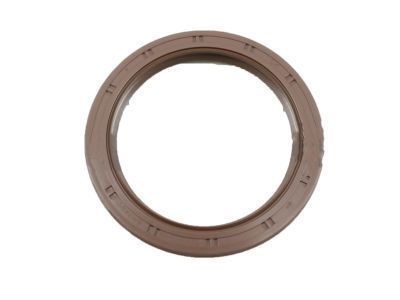
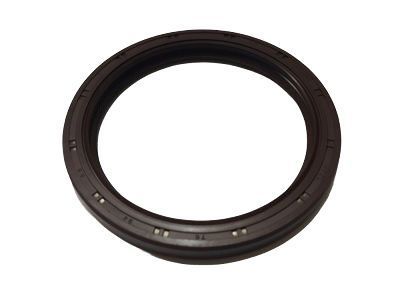
Genuine Toyota Celica Crankshaft Seal
- Select Vehicle by Model
- Select Vehicle by VIN
Select Vehicle by Model
orMake
Model
Year
Select Vehicle by VIN
For the most accurate results, select vehicle by your VIN (Vehicle Identification Number).
24 Crankshaft Seals found
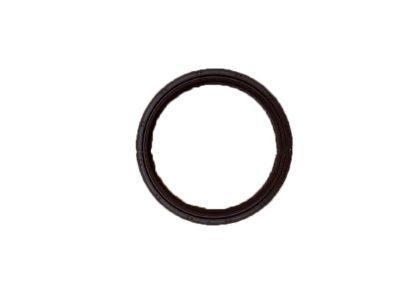
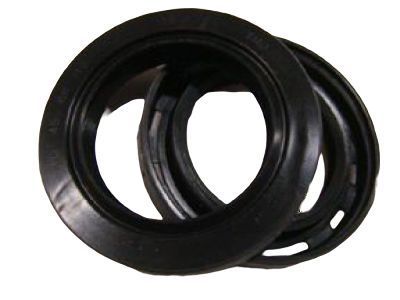
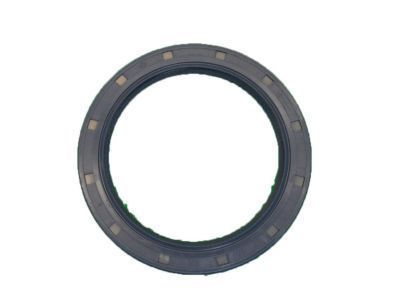
Toyota Celica Seal
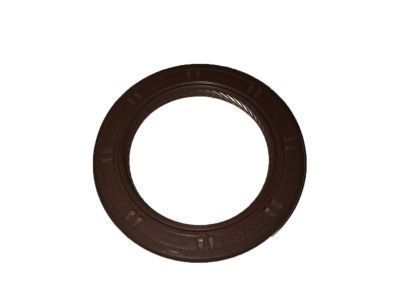
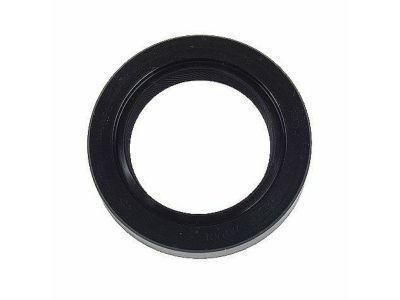
Part Number: 90311-42035$11.45 MSRP: $16.01You Save: $4.56 (29%)Ships in 1-2 Business DaysToyota Celica Seal, Oil
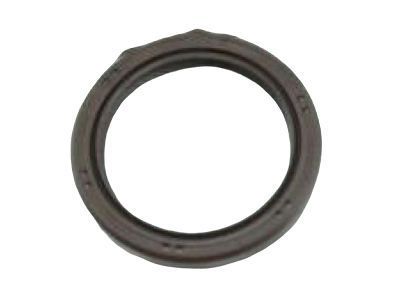
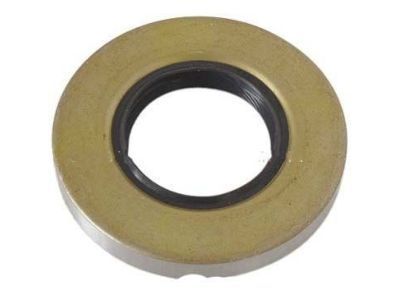
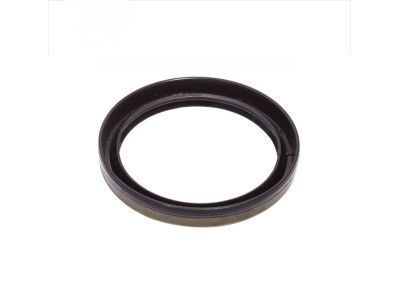
Part Number: 90311-38089$11.72 MSRP: $16.39You Save: $4.67 (29%)Ships in 1-3 Business DaysToyota Celica Seal
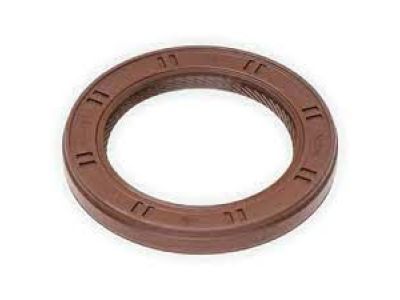
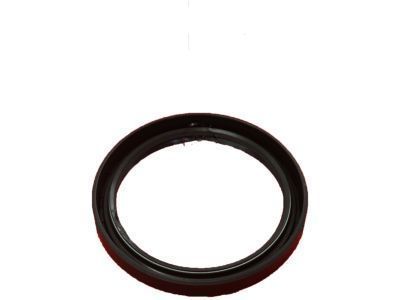
Part Number: 90311-42026$11.38 MSRP: $15.90You Save: $4.52 (29%)Ships in 1-3 Business DaysToyota Celica Seal, Oil
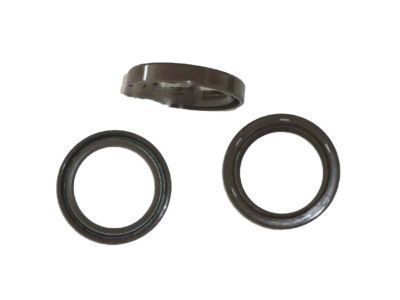
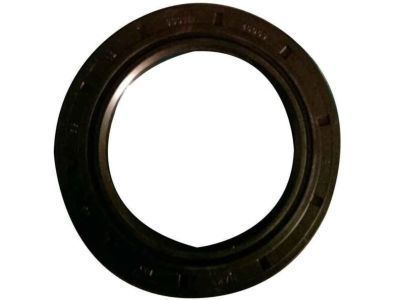
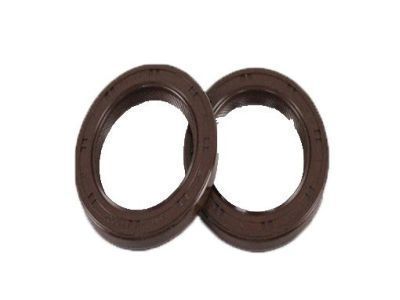
Part Number: 90311-38059$9.85 MSRP: $13.77You Save: $3.92 (29%)Ships in 1-3 Business DaysToyota Celica Seal, Type T Oil
Part Number: 90311-35013$12.66 MSRP: $17.69You Save: $5.03 (29%)Ships in 1-3 Business DaysToyota Celica Seal, Engine Rear Oil
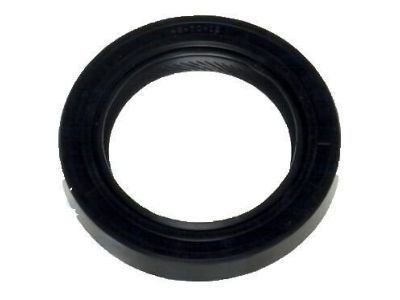
Part Number: 90311-85010$34.62 MSRP: $48.39You Save: $13.77 (29%)Ships in 1-3 Business DaysToyota Celica Seal, Engine Rear Oil
Part Number: 90311-70007$38.78 MSRP: $54.21You Save: $15.43 (29%)Ships in 1-2 Business DaysToyota Celica Seal, Engine Rear Oil
Part Number: 90311-76001$44.02 MSRP: $61.53You Save: $17.51 (29%)Ships in 1-3 Business DaysToyota Celica Seal, Oil
Part Number: 90311-45002$15.93 MSRP: $22.27You Save: $6.34 (29%)Ships in 1-2 Business DaysToyota Celica Seal
Part Number: 90311-42003$11.38 MSRP: $15.90You Save: $4.52 (29%)Ships in 1-2 Business DaysToyota Celica Seal, Engine Rear Oil
Part Number: 90311-80001$46.64 MSRP: $65.18You Save: $18.54 (29%)Ships in 1-3 Business DaysToyota Celica Seal, Oil
Part Number: 90311-45069$15.93 MSRP: $22.27You Save: $6.34 (29%)Ships in 1-3 Business DaysToyota Celica Seal, Engine Rear Oil
Part Number: 90311-89001$40.09 MSRP: $56.03You Save: $15.94 (29%)Ships in 1-2 Business DaysToyota Celica Seal, Engine Rear Oil
Part Number: 90311-80004$42.95 MSRP: $60.03You Save: $17.08 (29%)Ships in 1-3 Business DaysToyota Celica Seal
Part Number: 90311-42032$11.45 MSRP: $16.01You Save: $4.56 (29%)Ships in 1-2 Business DaysToyota Celica Seal, Oil
Part Number: 90311-48004$22.46 MSRP: $31.39You Save: $8.93 (29%)Ships in 1-3 Business DaysToyota Celica Seal, Oil
Part Number: 90311-45006$19.62 MSRP: $27.42You Save: $7.80 (29%)Ships in 1-2 Business DaysToyota Celica Seal, Engine Rear Oil
Part Number: 90311-70004$38.78 MSRP: $54.21You Save: $15.43 (29%)Ships in 1-3 Business DaysToyota Celica Seal, Engine Rear Oil
Part Number: 90311-85009$45.61 MSRP: $63.75You Save: $18.14 (29%)Ships in 1 Business DayToyota Celica Seal, Engine Rear Oil
Part Number: 90311-85006$45.61 MSRP: $63.75You Save: $18.14 (29%)Ships in 1-2 Business Days
| Page 1 of 2 |Next >
1-20 of 24 Results
Toyota Celica Crankshaft Seal
If you are in demand for superior quality and affordable OEM Toyota Celica Crankshaft Seal, then shop with us! We own a wide range of the reduced-priced genuine Toyota Celica Crankshaft Seal. You can purchase in confidence as all parts come with a manufacturer's warranty. Any issues with our products? No need to worry as we have a hassle-free return policy to guide you every step of the way.
Toyota Celica Crankshaft Seal Parts Questions & Experts Answers
- Q: How should the rear crankshaft oil seal be replaced on Toyota Celica?A: This procedure cannot be done with the transaxle still in the vehicle. The seal can also be removed or installed without dropping the Oil Pan or removing the seal retainer this method is however not preferred because the seal lips are however considerably stiff and may end up wrongly installed or damaged. If you decide to continue, take a screwdriver to remove the old seal, apply moly-base grease on the crankshaft journal as well as the lip of the new seal, and finally insert the new seal into place being very careful not to rush the process since it can harm the seal. There is a suggested method indicating that the oil pan as well as the seal retainer should be taken out. When the oil pan is out, take off the seal retainer and scrape off all the previous gasket's layers. Place the seal and retainer assembly on pieces of wood on a workbench and then put the blade of the screwdriver inside the back side of the seal and push forward to force it out. Push the new seal and the last part of the locomotive into the retainer ring with a wooden block or section of pipe; ensure it does not sit cocked in the retainer bore. Grease the width of the crankshaft seal journal and the inside edge of the new seal with moly-base grease and put a new gasket on the engine block. Cautiously and gradually fit the seal onto the crankshaft with the help of a cylindrical instrument, and put and tighten the retainer bolts to the suggested torque, taking care that the lower part of the retainer's sealing flange does not protrude below the oil pan rail of the block. The further steps are carried out in a reverse sequential order with respect to the removal steps.
Related Toyota Celica Parts
Browse by Year
2005 Crankshaft Seal 2004 Crankshaft Seal 2003 Crankshaft Seal 2002 Crankshaft Seal 2001 Crankshaft Seal 2000 Crankshaft Seal 1999 Crankshaft Seal 1998 Crankshaft Seal 1997 Crankshaft Seal 1996 Crankshaft Seal 1995 Crankshaft Seal 1994 Crankshaft Seal 1993 Crankshaft Seal 1992 Crankshaft Seal 1991 Crankshaft Seal 1990 Crankshaft Seal 1989 Crankshaft Seal 1988 Crankshaft Seal 1987 Crankshaft Seal 1986 Crankshaft Seal 1985 Crankshaft Seal 1984 Crankshaft Seal 1983 Crankshaft Seal 1982 Crankshaft Seal 1981 Crankshaft Seal 1980 Crankshaft Seal 1979 Crankshaft Seal 1978 Crankshaft Seal
