×
- Live Chat
- 1-888-905-9199


My Garage
My Account
Cart
Genuine Toyota 4Runner Fog Light Bulb
Fog Lamp Bulb- Select Vehicle by Model
- Select Vehicle by VIN
Select Vehicle by Model
orMake
Model
Year
Select Vehicle by VIN
For the most accurate results, select vehicle by your VIN (Vehicle Identification Number).
42 Fog Light Bulbs found
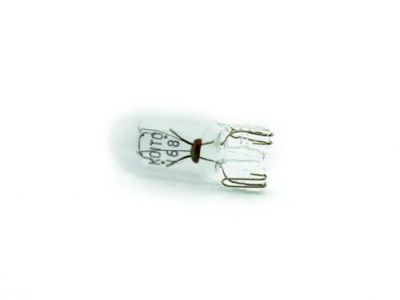
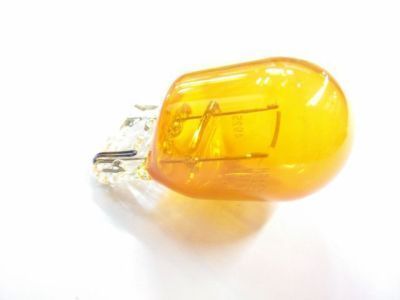
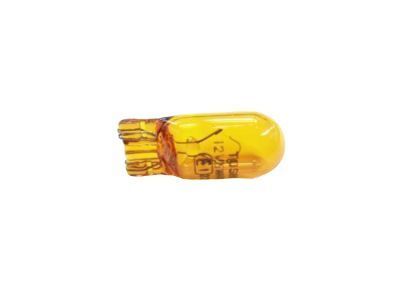
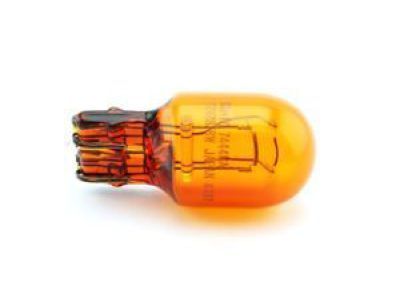
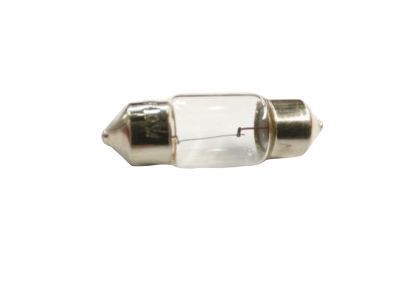
Toyota 4Runner Bulb
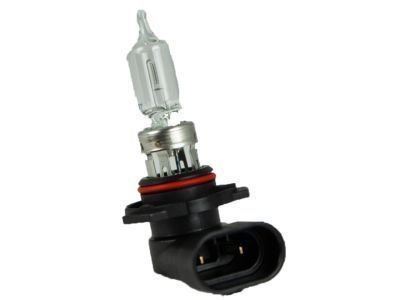
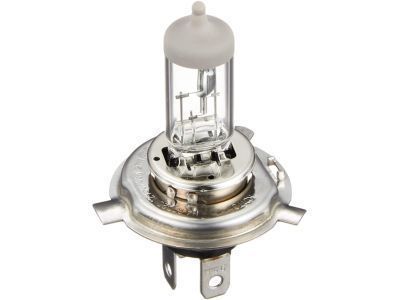
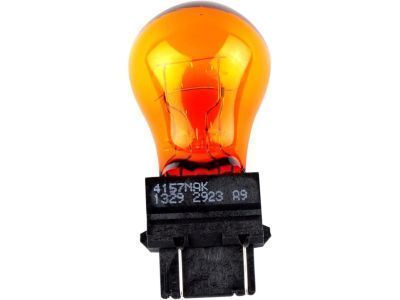
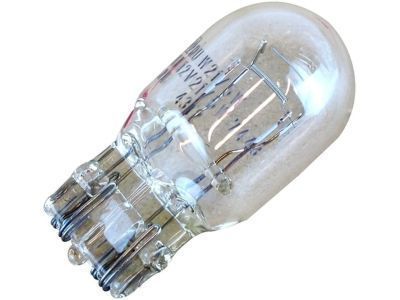
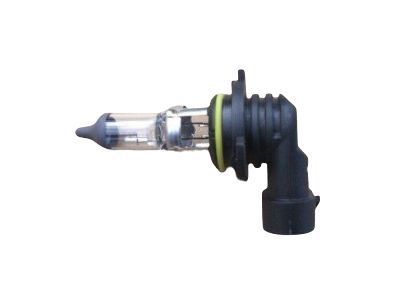
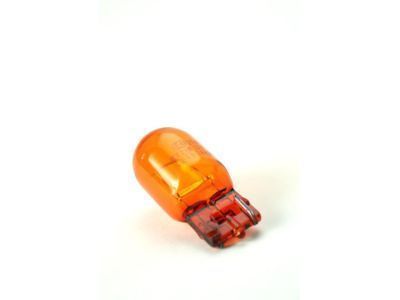
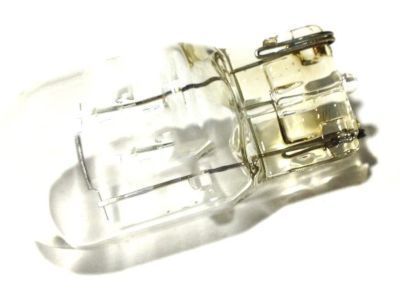
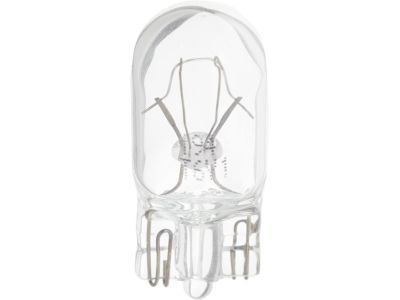
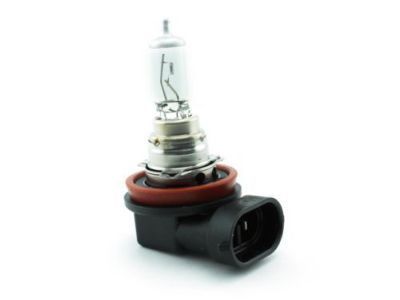
Part Number: 90981-13046$20.00 MSRP: $27.96You Save: $7.96 (29%)Ships in 1-3 Business DaysToyota 4Runner Bulb
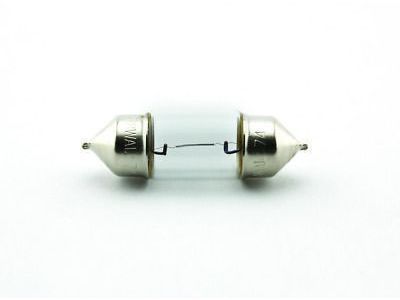
Part Number: 90981-13058$25.16 MSRP: $35.16You Save: $10.00 (29%)Ships in 1-3 Business DaysToyota 4Runner Bulb
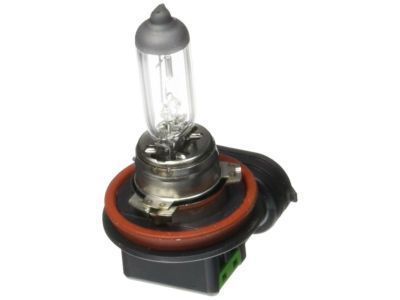
Part Number: 90084-98062$5.46 MSRP: $7.64You Save: $2.18 (29%)Ships in 1-3 Business DaysToyota 4Runner Bulb
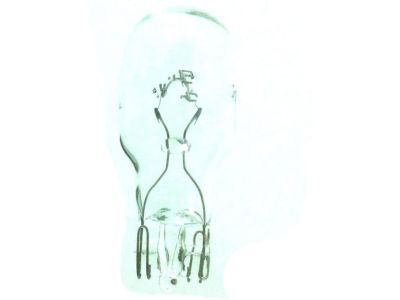
Part Number: 90981-13044$4.44 MSRP: $6.20You Save: $1.76 (29%)Ships in 1-3 Business DaysToyota 4Runner Bulb
Part Number: 90981-13047$20.00 MSRP: $27.96You Save: $7.96 (29%)Ships in 1-3 Business DaysToyota 4Runner Bulb
Part Number: 90981-14011$2.37 MSRP: $3.31You Save: $0.94 (29%)Ships in 1-3 Business DaysToyota 4Runner Bulb
Part Number: 90981-13075$15.54 MSRP: $21.72You Save: $6.18 (29%)Ships in 1-3 Business DaysToyota 4Runner Bulb
Part Number: 90981-11059$4.05 MSRP: $5.66You Save: $1.61 (29%)Ships in 1-2 Business DaysToyota 4Runner Bulb
Part Number: 90981-15021$4.07 MSRP: $5.69You Save: $1.62 (29%)Ships in 1-3 Business DaysToyota 4Runner Bulb
Part Number: 90981-13043$4.32 MSRP: $6.04You Save: $1.72 (29%)Ships in 1-3 Business DaysToyota 4Runner Bulb
Part Number: 90981-11020$5.91 MSRP: $8.26You Save: $2.35 (29%)Ships in 1-3 Business DaysToyota 4Runner Bulb
Part Number: 90981-13090$19.84 MSRP: $27.73You Save: $7.89 (29%)Ships in 1 Business DayToyota 4Runner Bulb
Part Number: 90981-12010$2.18 MSRP: $3.05You Save: $0.87 (29%)Ships in 1-3 Business DaysToyota 4Runner Bulb
Part Number: 90981-15011$5.62 MSRP: $7.85You Save: $2.23 (29%)Ships in 1-3 Business DaysToyota 4Runner Bulb
Part Number: 90981-15012$7.04 MSRP: $9.85You Save: $2.81 (29%)Ships in 1-3 Business DaysToyota 4Runner Bulb
Part Number: 90981-15024$8.22 MSRP: $11.49You Save: $3.27 (29%)Ships in 1-3 Business DaysToyota 4Runner Bulb
Part Number: 90981-11069$2.74 MSRP: $3.83You Save: $1.09 (29%)Ships in 1-3 Business DaysToyota 4Runner Bulb
Part Number: 99132-12100$1.34 MSRP: $1.88You Save: $0.54 (29%)Ships in 1-3 Business DaysToyota 4Runner Bulb
Part Number: 99132-11270$0.94 MSRP: $1.31You Save: $0.37 (29%)Ships in 1-3 Business DaysToyota 4Runner Bulb
Part Number: 99132-21270$0.58 MSRP: $0.81You Save: $0.23 (29%)Ships in 1-3 Business Days
| Page 1 of 3 |Next >
1-20 of 42 Results
Toyota 4Runner Fog Light Bulb
If you are in demand for superior quality and affordable OEM Toyota 4Runner Fog Light Bulb, then shop with us! We own a wide range of the reduced-priced genuine Toyota 4Runner Fog Light Bulb. You can purchase in confidence as all parts come with a manufacturer's warranty. Any issues with our products? No need to worry as we have a hassle-free return policy to guide you every step of the way.
Toyota 4Runner Fog Light Bulb Parts Questions & Experts Answers
- Q: How to replace Fog Light Bulb and other light bulbs on Toyota 4Runner?A: Various exterior lights are the parking/front sidemarker light bulbs which are installed in the outer, upper smaller recess area of the headlights; to replace, twist the socket of the bulb anti-clockwise and pull. Pull the bulb straight out to remove it from the socket and push it in until no further until to insert a new bulb. When you are screwed the new socket, position the arrow of the socket to the dot on the headlight housing. Front turn signal and fog light bulbs are-mount end on the bumper cover and since they're not enclosed they can be changed without having to lift the car. For the front turn signal bulb: rotary the socket as in the counter clockwise direction to unlock it from the vehicle's body, extract the bulb out, and introduce a new one into the until it becomes locked into its place. Before inserting the reference pins of the socket base, make sure that the lugs are properly aligned to the cutouts. Regarding the fog light bulbs, to change you have to pull the electrical connector, unscrew the socket using anticlockwise direction and then the steps are similar. To replace bulbs for the rear turn signal, brake/taillight, rear sidemarker, and back-up, there is a small door must be opened, the socket needs to be rotated in a counter clockwise direction then new bulb need to be installed by simply pushing the bulb straight in. License plate light bulbs can be replaced by first unscrewing the lens to reveal the light bulb which is then merely pulled straight out; the same applies conversely for installation. The center high-mounted brake light bulb calls for the lens to be popped off, followed by turning the socket in an anti-clockwise direction to uninstall it, and further following the bulb replacement process. For interior light bulbs like the dome lights, map lights, and door courtesy lights, remove the lens gently, unclip or REMOVE the old bulb and replace with a new one. If you have turn signal indicator bulbs, those require pulling the instrument cluster bezel using a flat-head screwdriver; the next step is twisting the socket in the counterclockwise direction to unlock it and further procedure is same to install it. Hazard flasher switch and power back window switch bulbs can be replaced by pulling the center trim panel, and then unscrewing the old bulb in a counterclockwise manner and make sure that the bulb is well screwed clockwise when a new one is put in its place. For heater and air conditioning control assembly bulbs, first, remove the assembly and then look for the bulb you want to replace and follow the same process followed when replacing the hazard flasher switch bulbs.
Related Toyota 4Runner Parts
Browse by Year
2024 Fog Light Bulb 2023 Fog Light Bulb 2022 Fog Light Bulb 2021 Fog Light Bulb 2020 Fog Light Bulb 2019 Fog Light Bulb 2018 Fog Light Bulb 2017 Fog Light Bulb 2016 Fog Light Bulb 2015 Fog Light Bulb 2014 Fog Light Bulb 2013 Fog Light Bulb 2012 Fog Light Bulb 2011 Fog Light Bulb 2010 Fog Light Bulb 2009 Fog Light Bulb 2008 Fog Light Bulb 2007 Fog Light Bulb 2006 Fog Light Bulb 2005 Fog Light Bulb 2004 Fog Light Bulb 2003 Fog Light Bulb 2002 Fog Light Bulb 2001 Fog Light Bulb 2000 Fog Light Bulb 1999 Fog Light Bulb 1998 Fog Light Bulb 1997 Fog Light Bulb 1996 Fog Light Bulb 1995 Fog Light Bulb 1994 Fog Light Bulb 1993 Fog Light Bulb 1992 Fog Light Bulb 1991 Fog Light Bulb 1990 Fog Light Bulb 1989 Fog Light Bulb 1988 Fog Light Bulb 1987 Fog Light Bulb 1986 Fog Light Bulb 1985 Fog Light Bulb 1984 Fog Light Bulb
