×
- Live Chat
- 1-888-905-9199


My Garage
My Account
Cart
Genuine Toyota Highlander Trailing Arm
Trailing Control Arm- Select Vehicle by Model
- Select Vehicle by VIN
Select Vehicle by Model
orMake
Model
Year
Select Vehicle by VIN
For the most accurate results, select vehicle by your VIN (Vehicle Identification Number).
15 Trailing Arms found
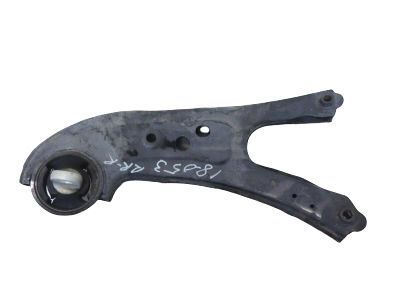
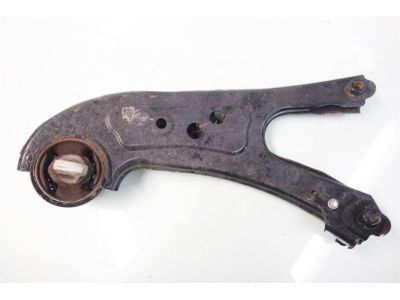
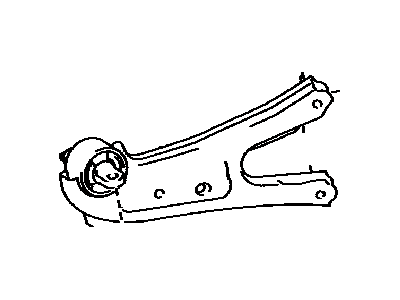
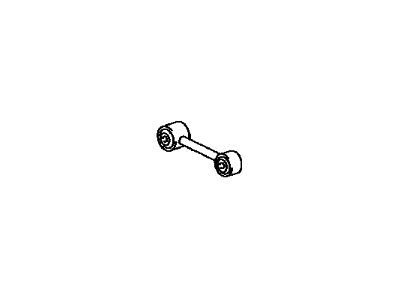
Toyota Highlander Arm Assembly, Trailing
Part Number: 48760-0E050$248.60 MSRP: $356.48You Save: $107.88 (31%)Ships in 1-3 Business DaysToyota Highlander Rear Suspension Control Arm Assembly, No.1 Left
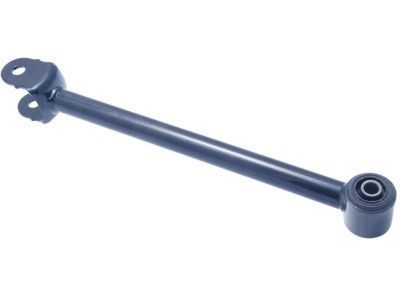
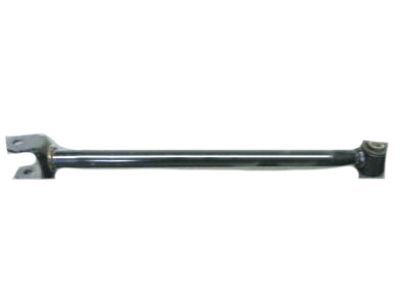
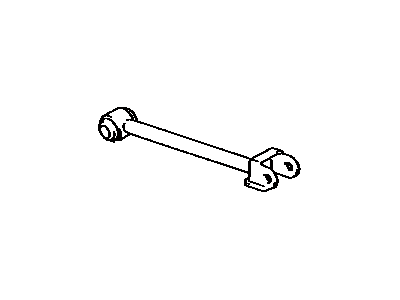
Part Number: 48710-48070$112.82 MSRP: $159.04You Save: $46.22 (30%)Ships in 1-3 Business DaysToyota Highlander Rear Suspension Control Arm Assembly, No.1 Right
Part Number: 48710-48050$104.85 MSRP: $147.80You Save: $42.95 (30%)Ships in 1-3 Business DaysToyota Highlander Rear Suspension Control Arm Assembly, No.1 Left
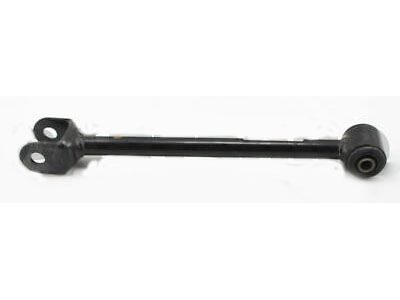
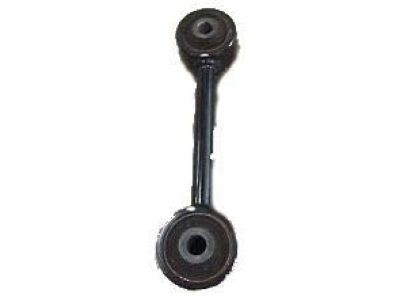
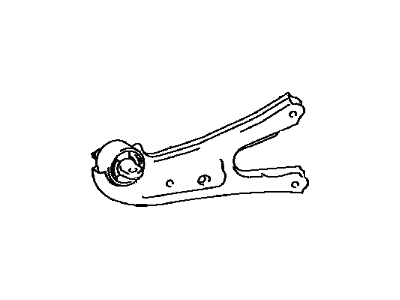
Part Number: 48710-48040$128.29 MSRP: $182.39You Save: $54.10 (30%)Ships in 1-3 Business DaysToyota Highlander Arm Assembly, Trailing
Part Number: 48780-0E060$248.60 MSRP: $356.48You Save: $107.88 (31%)Ships in 1-3 Business DaysToyota Highlander Rear Suspension Control Arm Assembly, No.1 Left
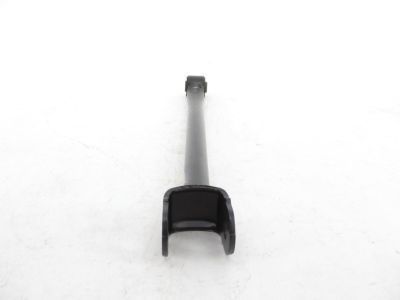
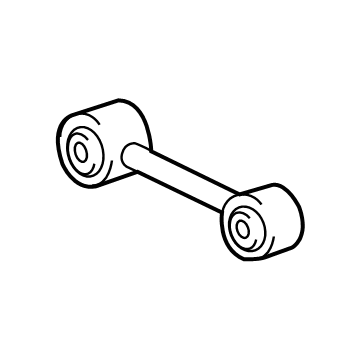
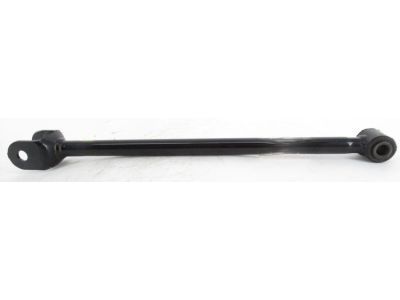
Part Number: 48710-48060$120.64 MSRP: $171.50You Save: $50.86 (30%)Ships in 1-2 Business DaysToyota Highlander Rear Suspension Control Arm Assembly, No.1 Right
Part Number: 48710-0E030$126.36 MSRP: $179.64You Save: $53.28 (30%)Ships in 1-3 Business DaysToyota Highlander Arm Assembly, Rear Suspension
Part Number: 48710-0E090$114.84 MSRP: $161.88You Save: $47.04 (30%)Ships in 1-3 Business DaysToyota Highlander Arm Assembly, Trailing
Part Number: 48780-0E090$177.12 MSRP: $253.97You Save: $76.85 (31%)Ships in 1-3 Business DaysToyota Highlander Arm Assembly, Trailing
Part Number: 48760-0E051$177.12 MSRP: $253.97You Save: $76.85 (31%)Ships in 1-3 Business DaysToyota Highlander Arm Assembly, Trailing
Part Number: 48780-0E061$177.12 MSRP: $253.97You Save: $76.85 (31%)Ships in 1-3 Business DaysToyota Highlander Arm Assembly, Trailing
Part Number: 48760-0E080$177.12 MSRP: $253.97You Save: $76.85 (31%)Ships in 1-3 Business DaysToyota Highlander Rear Suspension Control Arm Assembly, No.1 Left
Part Number: 48710-48020$131.43 MSRP: $186.85You Save: $55.42 (30%)Ships in 1-3 Business Days
Toyota Highlander Trailing Arm
If you are in demand for superior quality and affordable OEM Toyota Highlander Trailing Arm, then shop with us! We own a wide range of the reduced-priced genuine Toyota Highlander Trailing Arm. You can purchase in confidence as all parts come with a manufacturer's warranty. Any issues with our products? No need to worry as we have a hassle-free return policy to guide you every step of the way.
Toyota Highlander Trailing Arm Parts Questions & Experts Answers
- Q: How should the rear Trailing Arm be removed and installed on Toyota Highlander?A: The paint marks on all suspension arms must face the rear of the vehicle; if no marks are visible, they should be marked for proper reinstallation. To begin removal, loosen the rear wheel lug nuts, raise the rear of the vehicle, and support it securely on jackstands before removing the rear wheel. For the number 1 suspension arm on 2WD models, remove the rear stabilizer bar, then the arm fasteners from the axle carrier and rear suspension cross member, followed by the arm itself. On 4WD models, lower the rear suspension cross member to access the inner bolt of the number 1 suspension arm, disconnect the strut rods from the axle carrier, and remove the exhaust center section and tailpipe, driveshaft and center bearing assembly, and both rear driveaxles. Detach the suspension arms from both axle carriers, position a floor jack under the center of the cross member, loosen and remove the cross-member-to-body fasteners, and carefully lower the rear suspension cross member until the suspension arm bolts are accessible, then remove the bolts. For the number 2 suspension arm, remove the rear stabilizer bar, mark the cam bolt to preserve the toe-in alignment angle, and depending on the model year, remove the arm fasteners from the axle carrier and suspension cross member or the coil spring before removing the arm. For the rear trailing arm on specific models, measure the distance from the ground to the bottom of the rear suspension arm before raising the vehicle, then remove the rear suspension arm plastic shield fasteners, the rear wheel speed sensor bracket fastener, and the parking brake cable fasteners. Use a floor jack to raise the rear suspension arm slightly, then remove the fasteners from the front and rear of the trailing arm. During installation, loosely tighten all bolts, adjust the suspension to its normal ride-height angle, and then fully tighten the bolts, ensuring the factory paint marks face the rear of the vehicle. Finally, install the wheel and lug nuts, lower the vehicle, tighten the wheel lug nuts, and if applicable, tighten the driveaxle/hub nut, followed by having the rear wheel alignment checked.
Related Toyota Highlander Parts
Browse by Year
2024 Trailing Arm 2023 Trailing Arm 2022 Trailing Arm 2021 Trailing Arm 2020 Trailing Arm 2019 Trailing Arm 2018 Trailing Arm 2017 Trailing Arm 2016 Trailing Arm 2015 Trailing Arm 2014 Trailing Arm 2013 Trailing Arm 2012 Trailing Arm 2011 Trailing Arm 2010 Trailing Arm 2009 Trailing Arm 2008 Trailing Arm 2007 Trailing Arm 2006 Trailing Arm 2005 Trailing Arm 2004 Trailing Arm 2003 Trailing Arm 2002 Trailing Arm 2001 Trailing Arm
